
Proper Microphone Positions for Home Theater Measurements
Nearly all home theater receivers these days have room correction programs. These have included microphones that require that the user to set them up in one or more locations in their home theater. If you are a power user, you’ve probably considered buying a microphone, downloading REW (Room EQ Wizard), and taking some of your own measurements. Regardless of why you want to take measurements, this guide is for you. The proper microphone positions and orientation for home theater measurements are the same.
The problem is that most of the diagrams for where and how to position the microphone when you are measuring in your home theater are wrong, the terminology is confusing, and there is a lot of conflicting advice out there. We’re here to clear all that up. Consider this the definitive guide for how to properly take measurements with a microphone in your home theater.
Author’s Note: Much of this information comes from my interview with Chris Kyriakakis of Audyssey done for the AV Rant podcast (LINK). If you want to hear it for yourself, you can listen to the whole thing or just start at the 42:30 mark (our podcasts are very long). Yes, this interview is from 2014 but Audyssey hasn’t changed in the intervening years and the advice still holds true today.
Equipment
You’ll need a microphone (usually provided by the receiver manufacturer), a cord long enough to reach from your receiver to your couch, and a tripod if possible. Most mics have a long enough cord but if you find that you need a longer one, get a 3.5mm extender of the proper length. Just make sure you get one that is mono and not stereo.
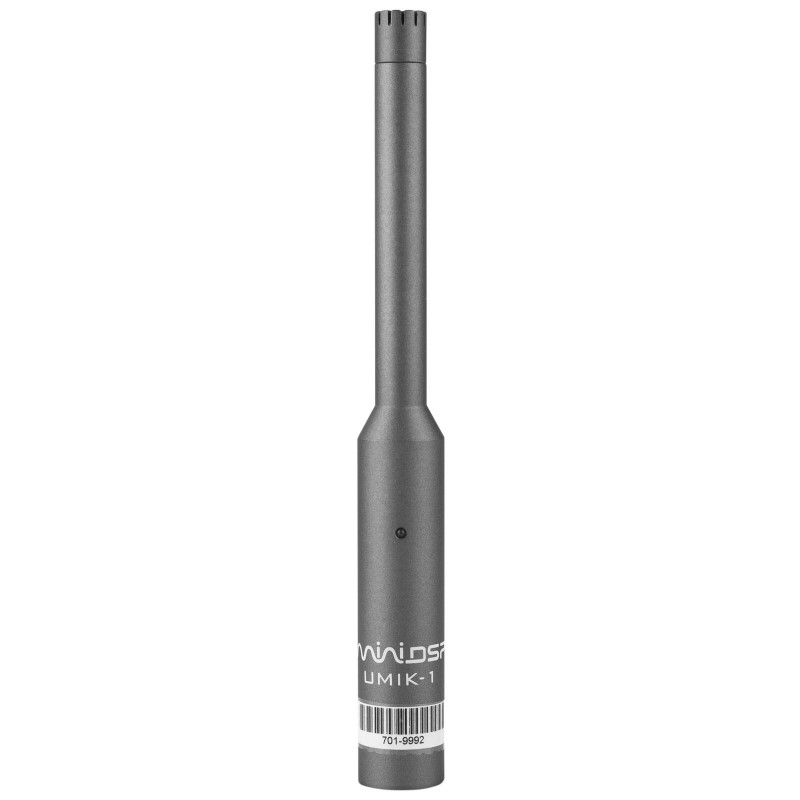
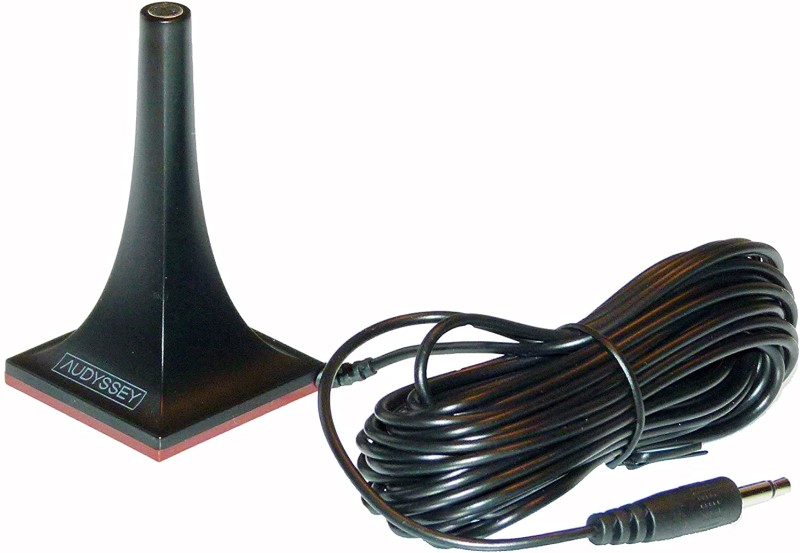
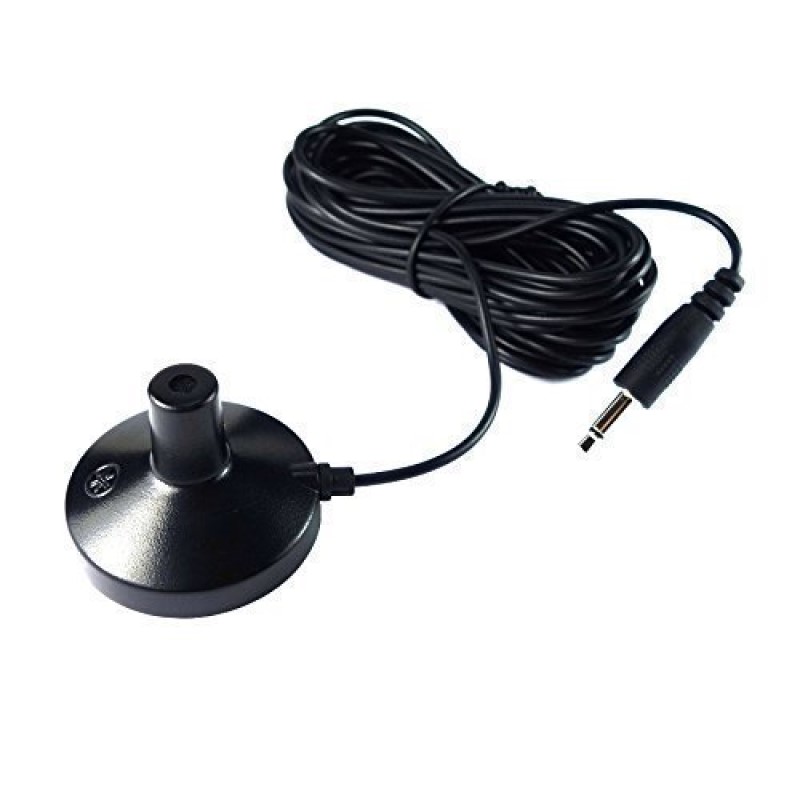
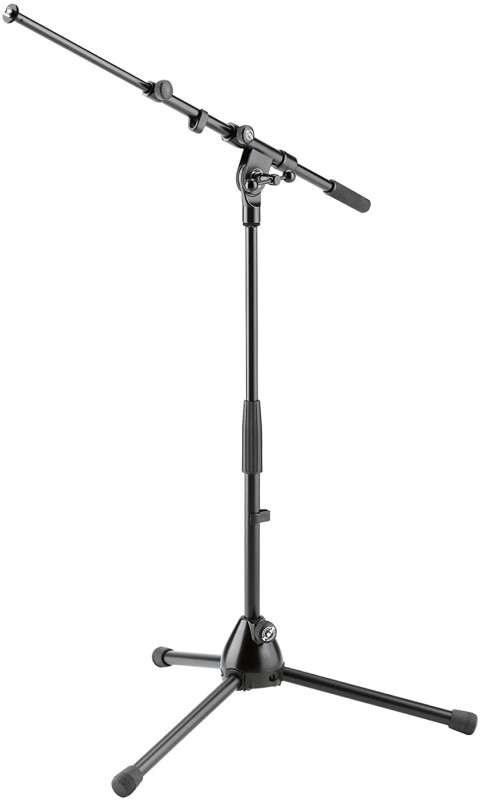
A tripod or a boom microphone stand will make properly placing the microphone in all the positions you’ll need to measure in your home theater much easier. But if you don’t have one, a box or stack of books will work. Preferably the thinnest possible. Tripods are fairly cheap and you’ll find other uses for one. Don’t buy anything expensive if you don’t think you’ll need one regularly. The included base for the tripod will fit all the different microphones on the market. If you are getting a UMIK-1, you’ll probably get a desktop stand that comes with it. You can place that on a stack of books so that it is at the right height or buy a boom mic stand. Those are a little more expensive and really aren’t worth the money if you aren’t going to use them regularly.

Orientation of the Microphone
To start with, the microphone should always be pointed straight up. That doesn’t matter if you’re using the mic that came with the receiver or a calibrated UMIK-1 from Cross Spectrum Labs. The natural inclination is to point the mic at the speaker being tested. While that might seem logical, the vertical orientation is correct. Audyssey or your specific room correction program will take multiple measurements in quick succession. The mic can’t be switched between measurements. The proper orientation for the microphone when measuring your home theater is pointed at the ceiling.
Secondly, you want the tip of the microphone to be about ear height when seated (or reclined). That’s important so that the mic gets the proper measurements from where you’ll actually be sitting. That means no putting it on your headrest. You can’t just sit it on your seat. It must be elevated to the proper height.
Most importantly, you want at least 12 inches of space between the microphone and any barrier (this is why we recommend a tripod). Yes, we know that you put your head against the couch. It doesn’t matter. The back of the couch should be no closer than 12 inches from the microphone. This is counterintuitive and not at all made clear in most guides. The reason is because the reflections of the sound off any barrier can affect the measurements. So, when we talk about specific positions, remember that nothing can be within 12 inches of the microphone.
First Microphone Position for Home Theater Measurement
This is the most important position. This is the one that sets the delays and distances for all your speakers. The first position should be the center of your listening area. This confuses people. In most of the diagrams, they show this seat as the center of a couch. But what if your couch is off to the side? Where do you put the microphone?
No matter where you sit, or where the center of the couch is, the first microphone position is equidistant from your left and right speakers on the same plane of your sitting position. If you have a couch that is centered between your main speakers, that means the center of that couch. If you have two chairs that flank that center point, then it is in-between the two chairs. Say your couch is pushed against one wall. It is on that couch where it is equidistant from the two main speakers (even if that is not in the center of the couch). If you have more than one row of seats, pick the one that is your primary row and measure there. This is the proper placement for the microphone for the first measurement in your home theater.
All Other Microphone Positions
When placing the microphone for measuring in your home theater, the graphics and terminology would have you believe that you should move the microphone from seat to seat. That is not true (though we don’t blame you for thinking so). For best sonic results, all subsequent measurements should be taken within three feet from the first measurement. We know that isn’t where most people sit. That doesn’t matter. What you are trying to give the room correction program is an average of what the room is doing in the area where people are generally sitting.
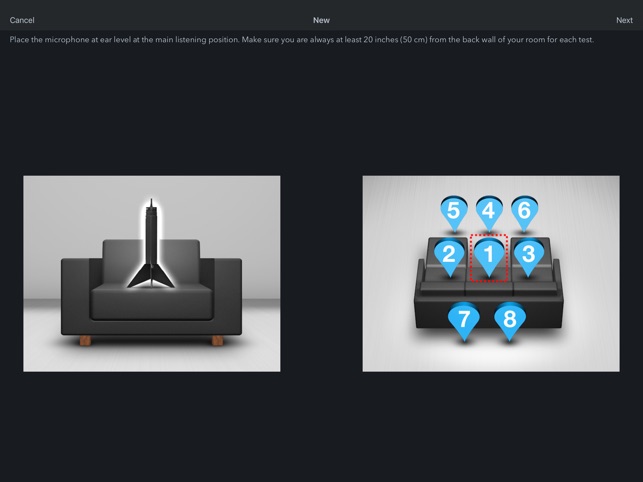
Chris Kyriakakis suggests that you take 3-4 measurements on the couch. We’d suggest placing the microphone 1.5 to 3 feet to either side at the main seating position in your home theater. He then suggests a couple of measurements in front of the first position, and a couple behind. Yes, this assumes that there isn’t a wall behind your couch. If there is, take more to the side and in front. Yes, we know that there isn’t anyone sitting in these positions. It doesn’t matter. The program just needs to know where are the main problems.
Author’s Note: Chris Kyriakakis made it clear that the order of the measurements, after the first, doesn’t matter. You can position the microphone in any order around your home theater. It is just important that all of the measurements happen between the front left and right speakers.
Does Elevation Matter
Generally no. Your ears are on one plane, the measurements should be on the same plane.
What About Non-Optimal Seats?
We’ve seen many rooms that have a couch that is well placed between the front left and right speaker, and then a second couch that is off to the side and pushed up against a wall. What should you do about measuring that couch? Honestly, nothing. That couch isn’t going to get great sound no matter what. And what you are doing at the main seat is doing all the good it can for that other couch. By positioning the microphone on that non-optimal seat, you are feeding the program data that will make it do LESS rather than more.
Got any other questions about how to position your measurement microphone in your home theater? Let us know in the comments!
