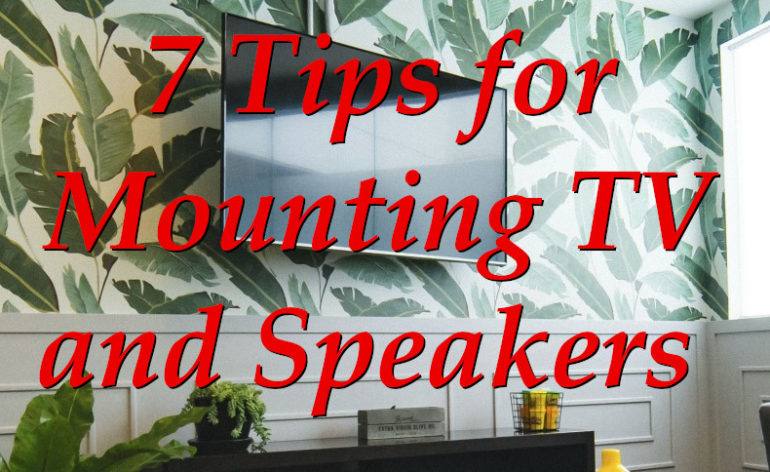
7 Easy Tips to Mounting Your TV and Speakers
For those that have never done it, mounting a TV or a speaker can seem like an insurmountable task. Sure, you can buy a mount and follow directions, but there have got to be some tips that make mounting a TV or speakers easy, right? Well, there are. We’ve put together a list of some of the things we do when we are mounting AV gear. While there are lots of other tips out there, these are the ones we find the most helpful for us.
There are a few things you’ll need before we begin:
- Stud Finder
- Drill/Impact Driver
- Various Drill Bits
- Toggle/Drywall Anchors
- Sharpie
- Painter’s Tape
- Patience
Tip #1) Begin With Finding Your Studs
It is very easy to look around a room and decide where you want your TV and speakers to be mounted. That’s the simple part. But too often people stop there and start buying speakers and mounts. Don’t. First, grab your trusty stud finder and make sure you can mount your TV and speakers where you want. With a TV, you definitely need to find a stud to sink a couple of screws into. Less important for speakers as they are much lighter. But it is important to know where the studs are so you know what you are working with. Aren’t comfortable with using a stud finder? Check out this how-to article.
Tip #2) Painter’s Tape is Your Friend
Rather than writing on your wall, mark out the position of the studs with some painter’s tape. In fact, we like to liberally use painter’s tape for everything. Know the approximate position you want to drill for your speaker or TV mount? Put up a layer of painter’s tape. Painter’s tape is designed to come off the wall without damaging the paint and won’t leave a residue. You can mark it up with a sharpie so that you can actually see the marks. That’s way better than trying to write in pencil and hunting around for your marks.
Tip #3) Aren’t Sure? Grab Your Drill!
One of our favorite easy tips for mounting a TV or speakers is drilling very small holes. Grab your smallest (thinnest) drill bit and drill a test hole. You’ll know very quickly if you’ve hit a stud or not. In fact, we use this trick all the time. Want to install in-ceiling speakers? You can drill a small hole where you want them and push a piece of wire (we use stripped Romex or other solid, inflexible wire) through the hole. Now you can find the speaker location even when you are in an attic. Need to fish a wire down a wall? Drill a hole in the ceiling just next to the wall and push a piece of wire through to mark your location. Makes working in an attic a lot easier.
Tip #4) Using Your Level Like a Pro
We’ve all got a level around the house somewhere. If you are not some sort of weekend DIY warrior, you probably use it once a year. You could be forgiven for not really knowing what to do with it other than checking to see if your pictures are straight. Grab that level and dust it off. It is about to make your life much easier.
Most mounts for a TV or speakers will come with a template. You are supposed to tape it to the wall and drill through the marked holes. You can do that, it will work. But with a level, you can make this even easier. Put your level up to two of the horizontal holes and mark the side of the level. Now you can mark the first two holes while making sure the mount will be level. After that, you can either hold the mount up to the marked holes or go back to the template. Regardless, getting those first two holes level first will simplify this whole process.
Tip #5) You Mostly Only Need One Stud
If you are mounting speakers, you really only need one stud. Heck, you probably only need to hit the stud with one screw to make a strong enough connection. When mounting a TV, you likely want more protection. There are toggle anchors that are rated at hundreds of pounds. But that assumes you’ve installed them correctly and that there isn’t any other issue that might make for a weakness in the system. When mounting a TV or speakers, the most important part (other than it being as easy as possible), is that it works. You don’t want your multi-thousand-dollar TV to fall off the wall. This brings us back to Tip #1. Find those studs, and make sure you can hit both of them with your chosen mount. Planning and purchasing smartly will make your job a lot easier.
Tip #6) Impact Drivers are Your Friend
I had a conversation with my father once about impact drivers. We were moving a wall in my home and having to drive bolts into the foundation of the house. My dad didn’t understand why we would use anything other than a drill. Until he saw an impact driver in action.
One of the most important tips you can get in any project, much less mounting a TV or speakers, is to have the right tools on hand. An impact driver is the right tool. Rather than a drill where you have to provide the counterforce so that it can get through the material, the impact driver uses impacts within the device to drive the screw. If you’ve ever had a drill twist out of your hand, you’ll quickly realize the joy of using an impact driver. Our only warning is that you need to be careful when driving screws. Impact drivers are very fast and can strip the head or even break the bolt. With a little care, however, you’ll find that using an impact driver will make installing a TV or speaker mount much easier.
Tip #7) Do You Really Need a Mount?
The last tip we have for you when mounting a TV or some speakers, is to ask yourself, “Do I really need a mount?” We get caught up in how we think something should be without thinking about why. TV and speaker mounts are great when you are going for as clean a look as possible. They are especially nice in dedicated rooms. But for multipurpose rooms, consider using a shelf instead. Most shelves can handle any surround or bookshelf speaker you might buy. Plus, they double for storage of other things. Plus, later on, if you move or decide to change the location of your theater, you won’t have to remove shelves. Mounts will have to go. In our experience, if you can install a shelf rather than a mount, you should. They are multifunctional, usually are easier to install, and are overall easier. And that’s what we are going for here.
