How to Install Acoustic Panels the Right Way
When you first buy or make acoustic panels, your first question will be, “Now, how do I get these on the wall again?” Well, the answer online is always, “Hang them like a picture.” But that’s not that helpful, is it? There are a ton of ways to hang pictures and not all of them are appropriate for acoustic panels. So, here is our guide on how to install acoustic panels the right way.
Gather Your Materials and Tools
As I said, there are a lot of ways to hang a picture. One of the most popular is the sawtooth picture hanger. I’m not a fan of these for installing acoustic panels. You need to perfectly center the sawtooth hanger on the frame, and then you hang it from a nail. This makes a metal-to-metal connection which could, theoretically, rattle. I’d rather use an installation method that doesn’t create a potential problem. That’s why I go for the wire hanging method.
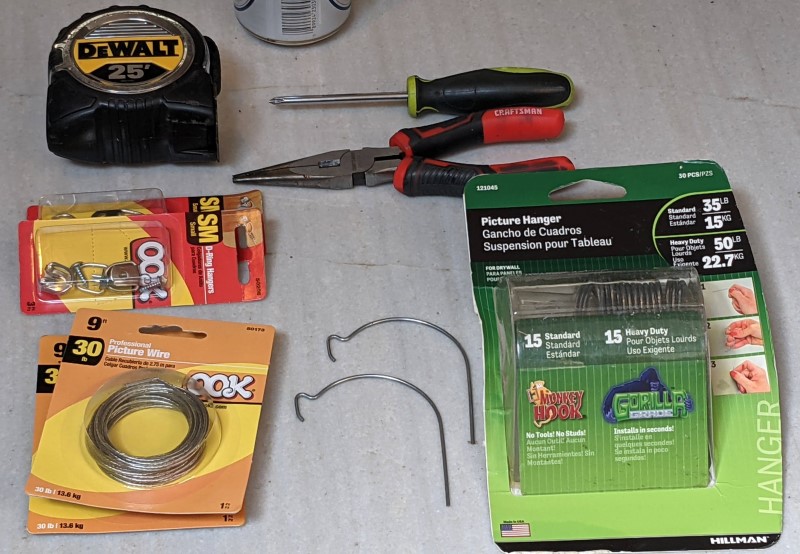
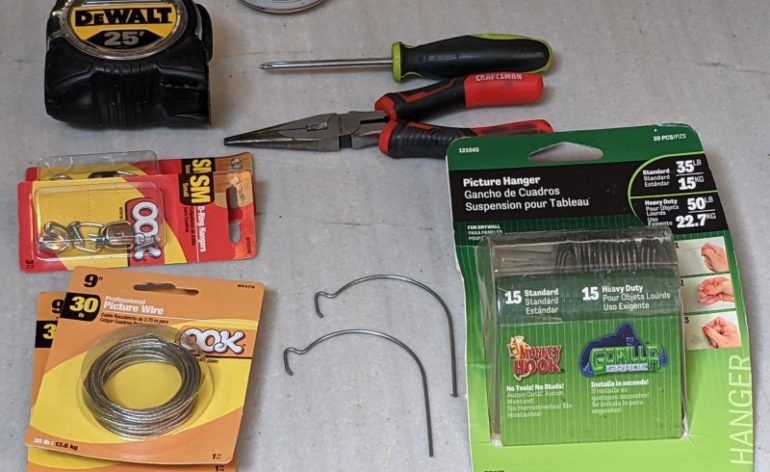
Anyone that listens to the AV Rant podcast will tell you that I’m a little lazy and a lot cheap. I don’t like to waste time but, more importantly, I don’t like to waste money. If I can do something myself to save some money, I will. Installing an acoustic panel doesn’t have to be expensive or tedious. You’ll want the following:
- Picture hangers (these can be nails or screws, I had some hangers leftover from another project)
- D-Ring hangers
- Picture wire
- Screwdriver (I ended up using an electric driver because of the little lazy thing above)
- Wire cutter (I used some needle nose pliers)
- Tape measure
- Rubber insulation tape (not pictured)
- Scissors (not pictured)
Installing Your Acoustic Panels Step-by-Step
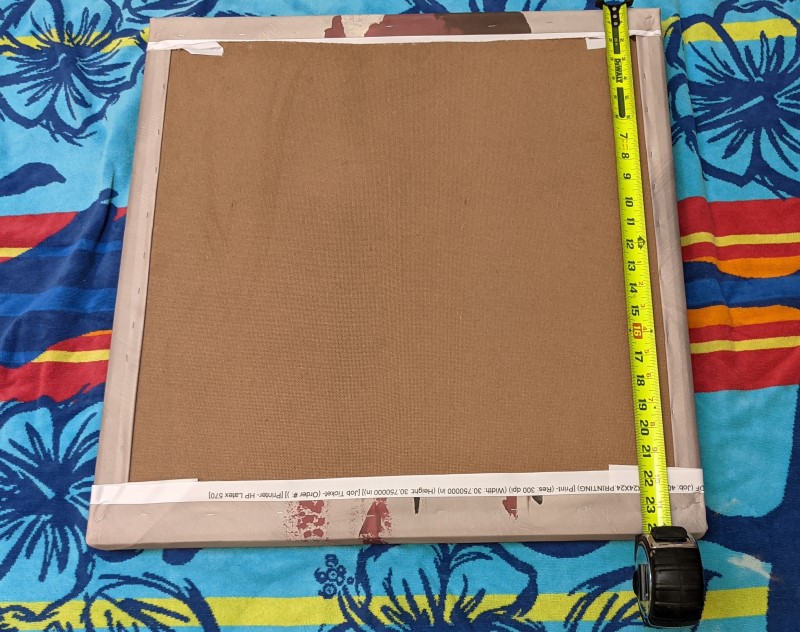
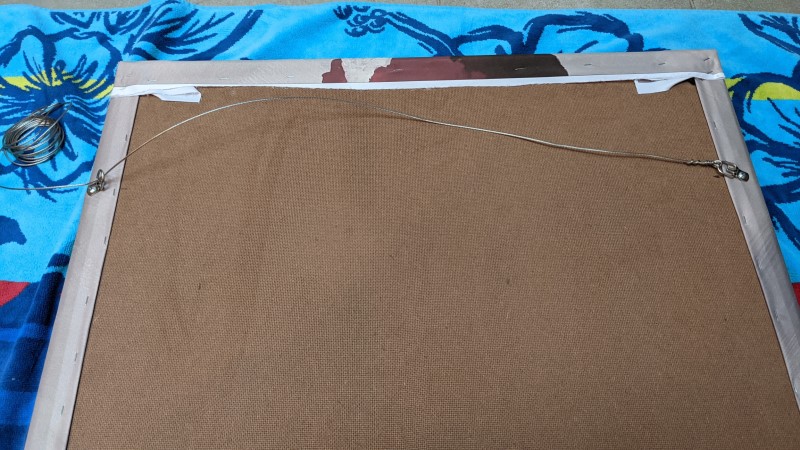
The first step is to attach the D-Rings to the frame of the acoustic panel. Most advice is to attach it between a quarter to a third of the way from the top of the frame. I did both and it really doesn’t make much of a difference. They don’t even have to be even with each other because of the way the wire method works. I did measure to make them even and you should too.
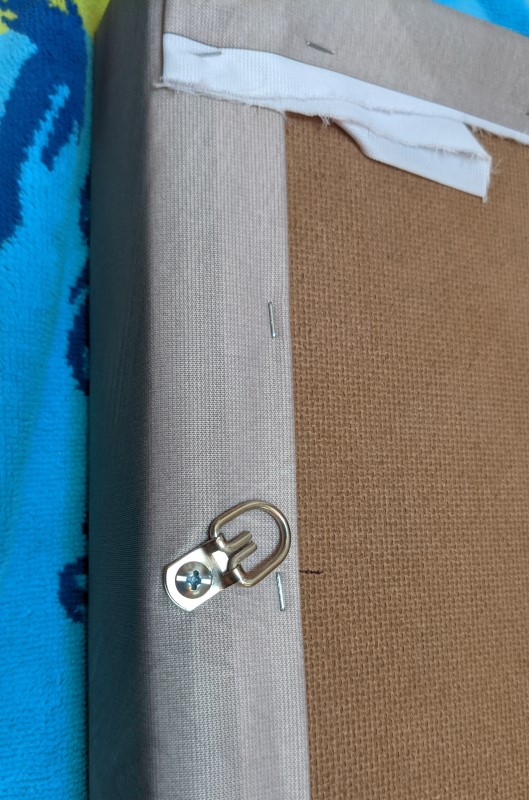
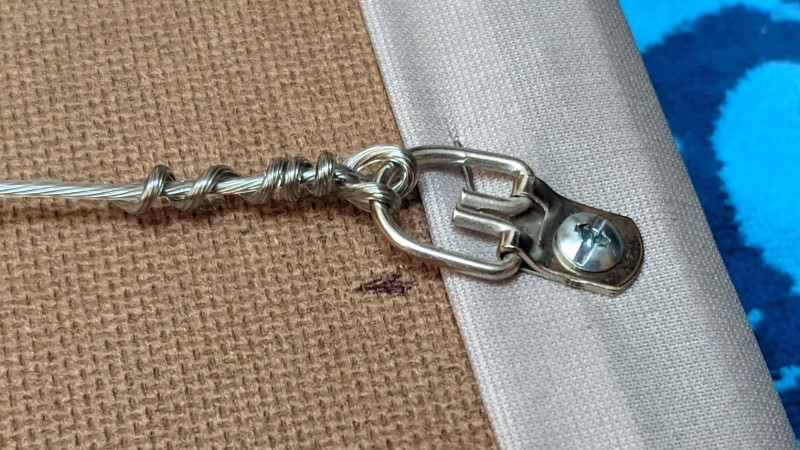
Next, you’ll need to install the wire to your acoustic panel. Since these panels are so light, you really can just do it however you want. The general idea is to pass the wire through the D-Ring, wrap it back on itself, and then back through the D-Ring. Lastly, wrap it a number of times around itself. In fact, just follow this video. It’s what I did. Also, pull the wire as tight as you can. No matter how tight you have it, it will have enough play to hang properly.
The last step is to install the method you’re going to use to attach the acoustic panels to the wall. Regardless of what you use, you’ll want to make sure you are hanging them in the right place. There are tons of methods and special devices that will help you with this. I use my hand and my wife.
Wait, that came out wrong.
Basically, I stand near the wall with my finger supporting the panel from the wire. I have my wife, or another helper, let me know when it is the right height. They take the panel from me and mark where my finger is on the wall. The upside of this method is that regardless if you are using the specialty hangers I have, or a nail, the holes you make will be small and hidden by the panel. If You don’t like where you’ve hung them, just try again. You’ll get it right eventually. It is important to do this with each panel as the placement of the D-Rings and tightness of the wire will affect where the panel sits on the wall. Don’t install all the nails and assume that the panels will all be even.
Preventing Rattles
Your acoustic panels are supposed to absorb sound, not make more. So, to combat that, I’ve got a couple of tips. The first was the hanging method. The coated wire will make no sound on the nail. The problem is that the panel has to touch the wall at some point. Usually the bottom corners. That’s where the rubber insulation tape comes in.
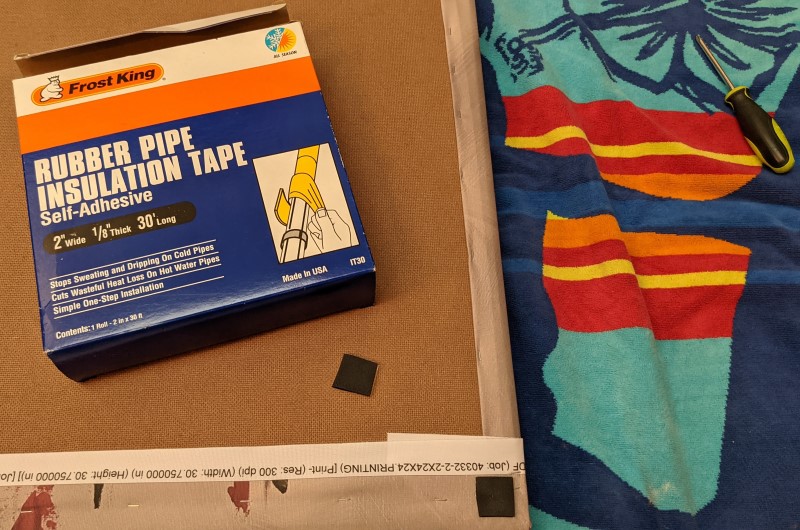
The pictured rubber insulation tape is older than most of my children. I bought it to combat rattles by my DIY acoustic panels I had installed over 15 years ago. It’s handy to have around. I cut off an inch and cut that in half. I then stick it to the bottom corners of the panels. Take a moment to run your hand over the bottom of the panel to feel where the highest points are. It should be in the corners where the fabric is folded over on itself. But it might not be.
Enjoy Your Installed Acoustic Panels!
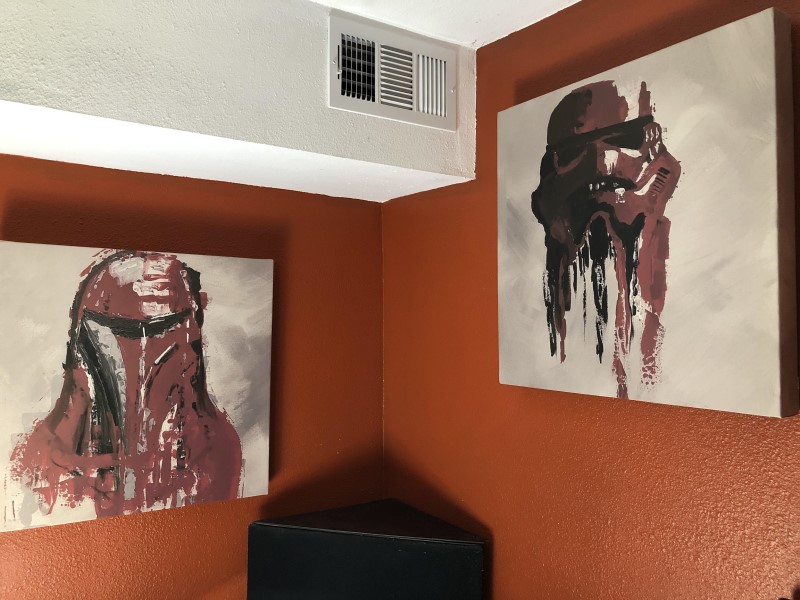
It is time to enjoy your newly installed acoustic panels. But, before you do, make sure to re-run your room correction system on your receiver. The acoustic panel will seriously change how effective room correction can be. Get ready to enjoy better bass, clearer dialogue, and a more engaging experience!
