Wire Management 101: Cable Cleanup by an Enthusiast
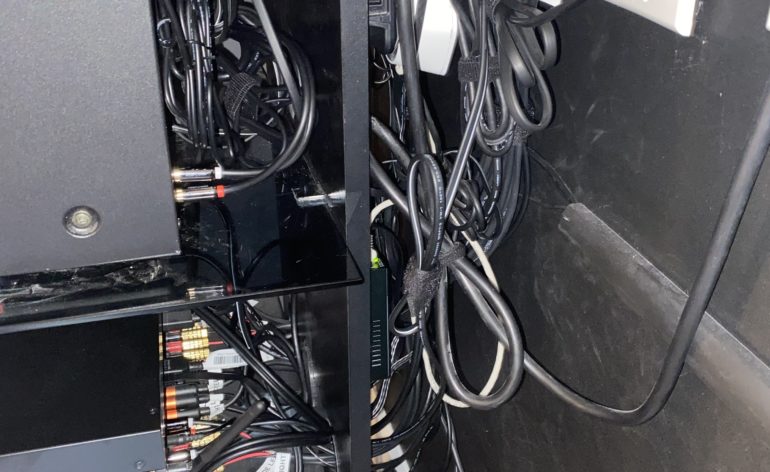
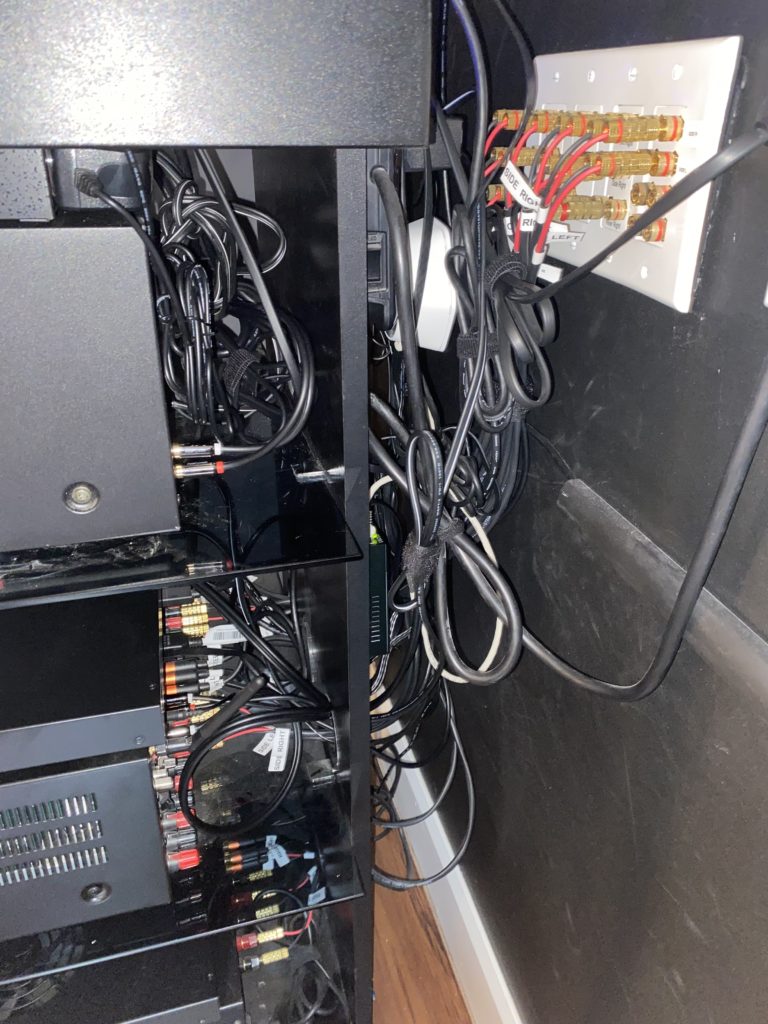
The first rule of home theater is you don’t talk about the mess of wires behind your cabinet. The second rule of home theater is you DON’T TALK about the mess of wires behind your cabinet!! Back in the day, wire management was easy. My setup consisted of two RCA cables and two runs of speaker wire. Then I added a laserdisc player, a center channel and surrounds, and let’s not forget that equalizer. Now the back of my system looked like a mass of spaghetti. But surely as we moved to AVR’s and other components, the mess of wires would shrink?
Wrong! My current setup includes not one, but two streaming boxes (and their HDMI and power cables). An Xbox, two CD players, and a DAC (don’t judge me). Add an AVR, a power amp, plus a remote hub, charging cradle, and a network switch hardwiring four devices. At last count, that’s 27 separate power cords and interconnects making up my entire system. So, yeah…it’s a total mess. And if you are anything like me, you added it slowly, over the years. And then you didn’t realize how out of control it became until you try to add or remove a component. Eventually, it’s a mass of tangled wires, never to be separated again. So what do you do when you want to remove/replace something? Just pull the power cord and HDMI cord out and abandon it? Not gonna lie…I have done that.

Or, I have an alternative. Say it with me kids – wire management! With a couple of tools and supplies, a lot of patience, and some pre-planning, the mass of wires can be a thing of the past!
Basic supplies
There are a couple of options for you. If you don’t want to hammer your wires into your furniture with clips, then you can look at rubber wire management clips. Both have pros and cons. I went with the rubber clips because they attach with 3M adhesive. I can quickly pull the wires out and replace them if needed. Plus, I feel the hammer in ones can pinch and damage your wires if you are too aggressive.
Velcro wire ties are a MUST! Yes, I am well aware that you could use garbage bag ties or wire ties. But, Velcro ties are relatively inexpensive, very strong, and best of all, reusable. So if you make a mistake or need to let out some cable, it’s easy. These will let you loop up and secure any excess length of wire in a neat and tidy package.
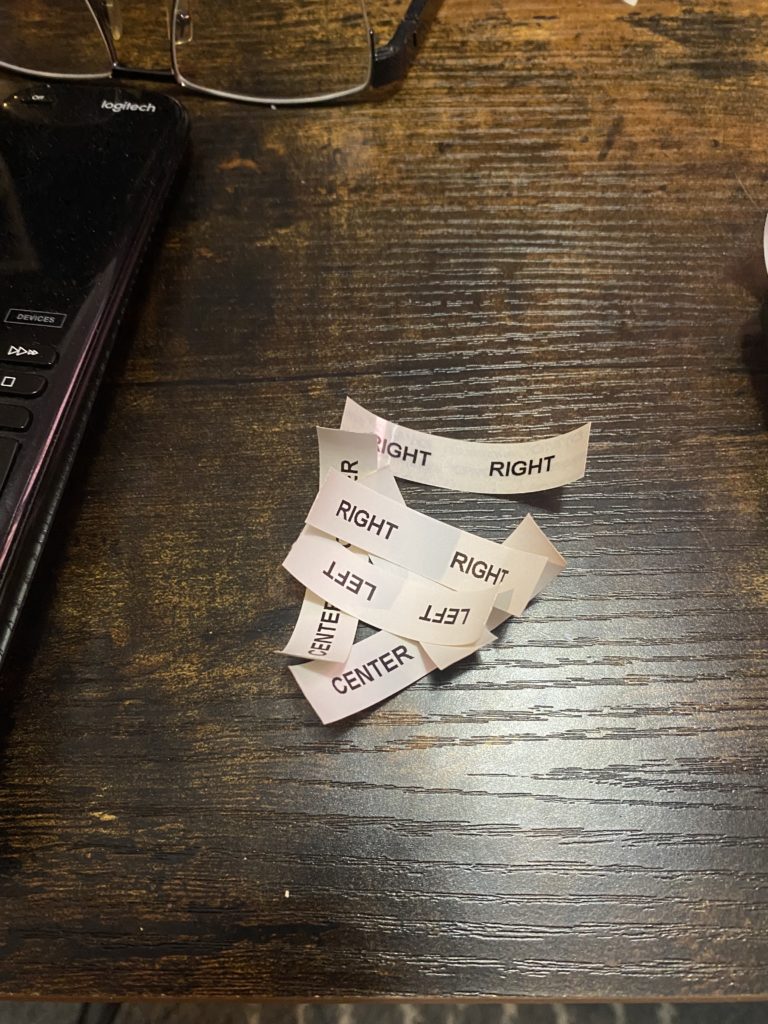
This one is optional but HIGHLY recommended, a label maker. Labeling both ends of your cables makes life easier. I got mine on sale, you can also use masking or painter’s tape and a sharpie to do the same thing. Either way, labeling your wires on both ends is a game-changer.
This last one is purely optional, but changing out your super long cables for ones that are the correct length is preferable. I am not at all advocating that you need to replace all of your interconnects with fancy and expensive cables, not at all. Monoprice, Primecables.ca, or Blue Jeans Cable, all sell very reasonably priced cables the lengths you need so that you don’t have a ton of extra cable to manage.
Wire Management 101
Start by labeling all connections and power cables. This is especially true for speaker cables. Then disconnect everything and pull out (if possible) the furniture you are working on to give you lots of access. Now I had a blank slate to work with and I planned to rearrange all my gear to make the most sense for routing. I put my streaming boxes and Xbox together since they all have HDMI cables to my AVR, and I put my CD players and DAC (still can’t judge me) in the same area.
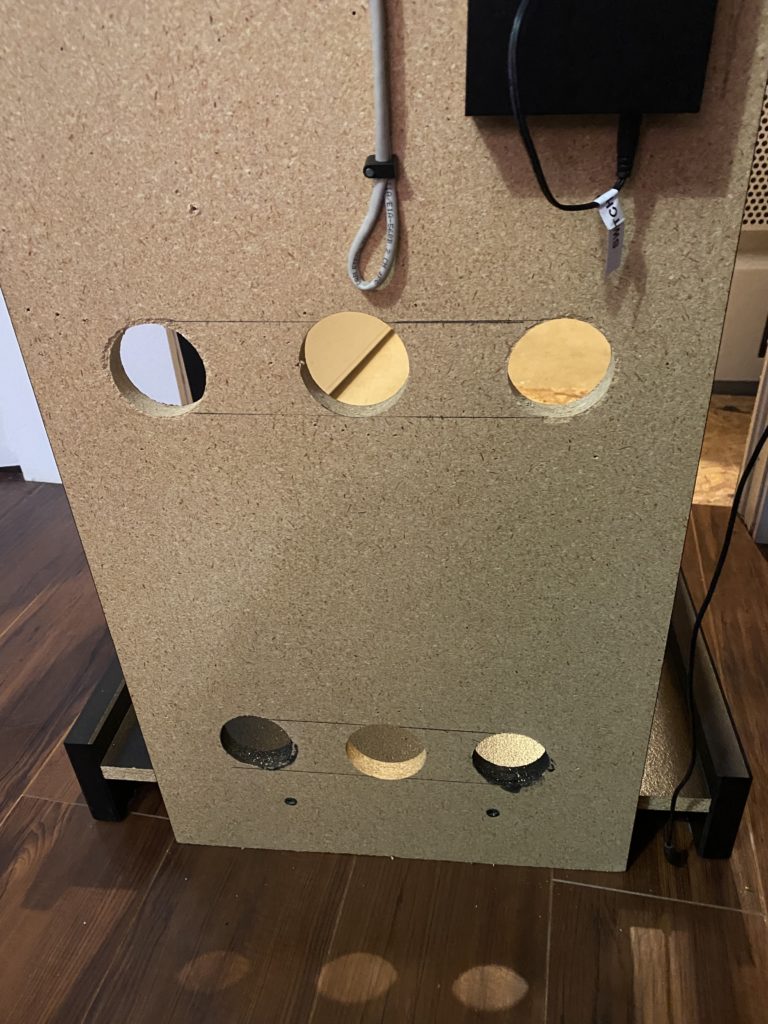
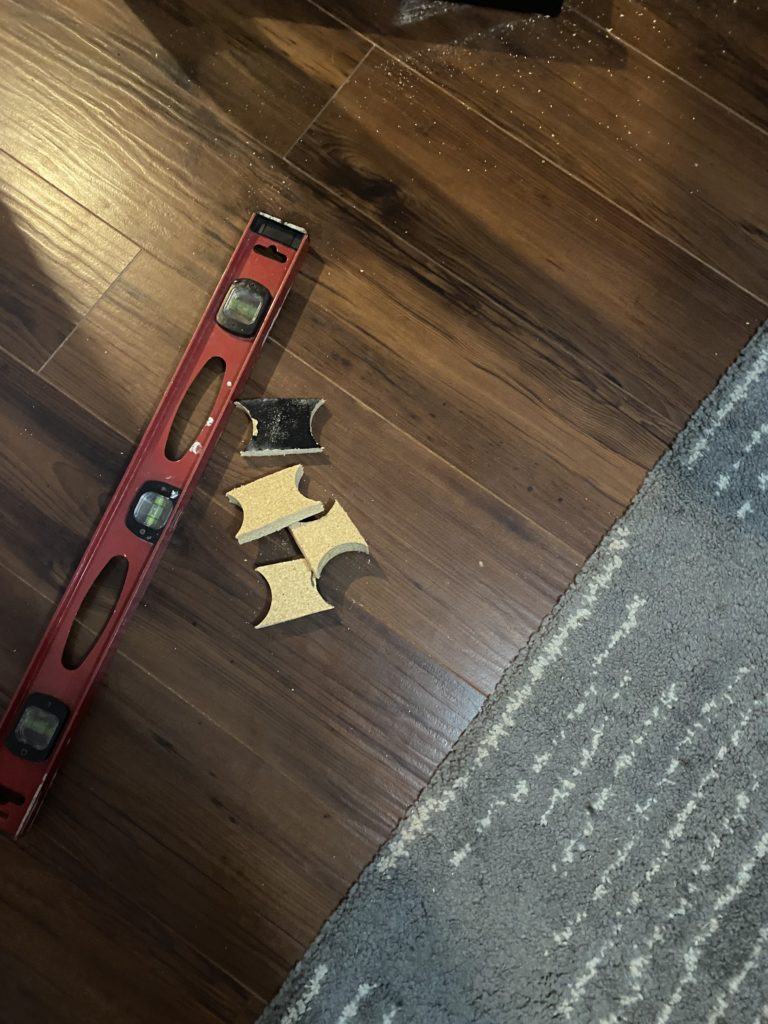
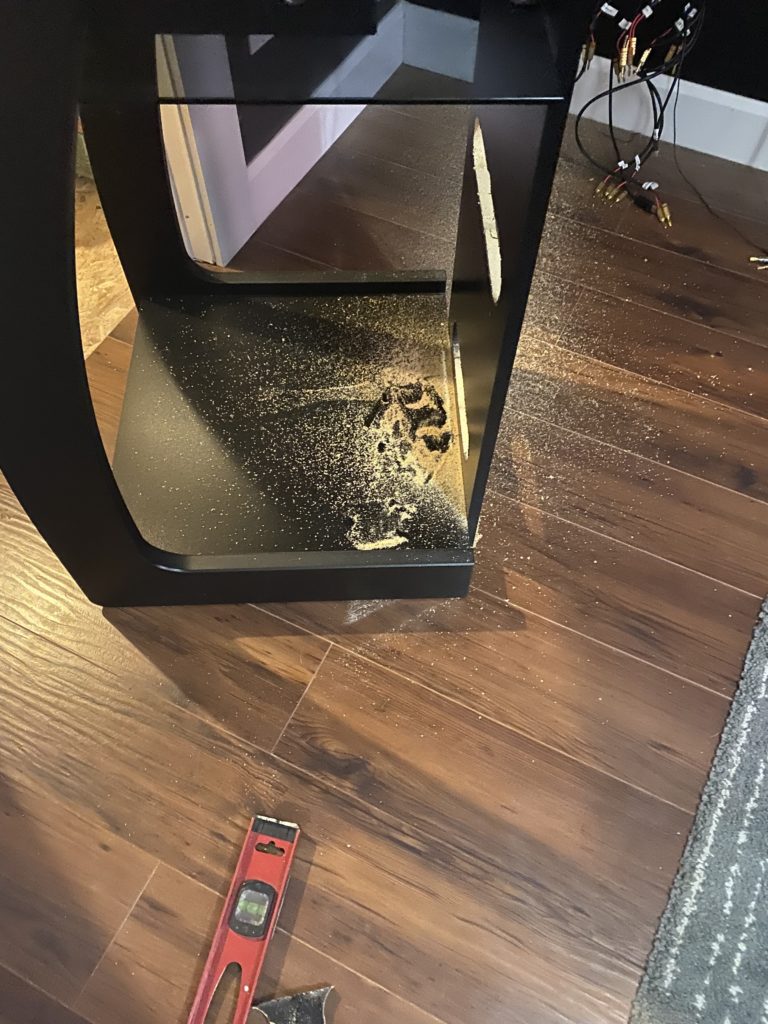
That said, the issue I had with my console is that it gave me a single hole to route all 26 wires through on each level. This means that no matter where I position anything, it all needed to go down the center of the console. Modification was needed! I got out my hole saw and drill, made two more holes on either side of the existing one, and then connected the dots and cut them out with the jigsaw. Add some black paint and bam, I widened the entrances on the back of my console considerably.

Routing It
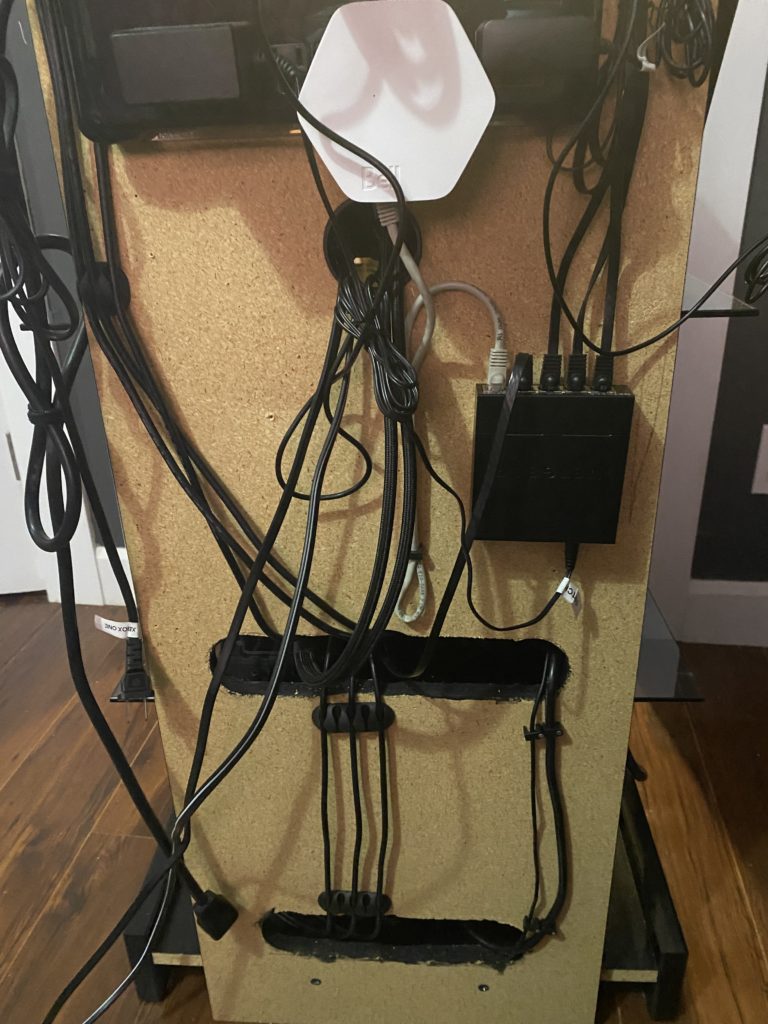
I left my powerbar at the top of my console. This would allow me to plug my streaming boxes, network switch, and remotes directly into that. Plus, they are within 12” of it, so means that those cables don’t need to be routed down to my power conditioner. I moved my power conditioner down to the bottom of my rack, and I plugged my AC Infinity Fans, my external amp, AVR and CD players into that. My DAC is USB powered, and luckily my powerbar has a USB plug, so that’s taken care of.
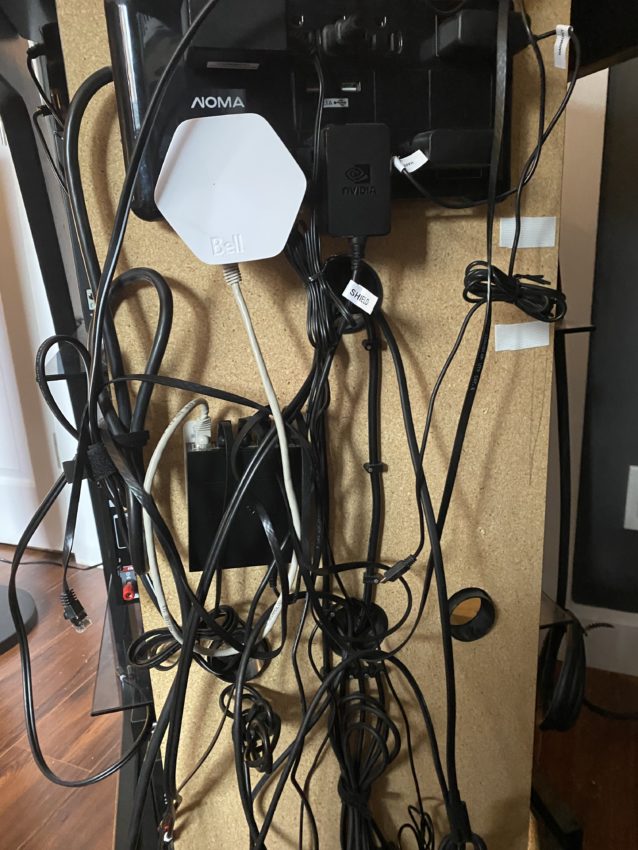
Once that was done, I started the runs. I replaced all my RCA and HDMI cables with more appropriate-sized ones. By doing this, I had no extra wire to loop and hide. I put the HDMI wires into the cable clip and plugged them into the boxes and into the AVR. Once I got them where I wanted on the back, I peeled and stuck them down. I followed the same procedure for my RCA’s and power cables. Within 15 minutes, I went from a total mess to less of a mess! I did use some hammer-in clips for my AVR power supply because that won’t be moving from its position.
The last step was to plug in all of my speakers. This is where labels and banana plugs are worth every penny you paid for them. I have my 5.1.4 (plus HDMI in cable) bundled together, so another 5 minutes and it’s all plugged in. The second to last step? Turn everything on and make sure it works. Once I did, I pushed the rack back into place. And that, my friends, felt mighty good!
Wrap Up
So with all of my “how-to guides.” this is not an exhaustive list of how to wire manage your system. This is how I did mine. As you can see, it’s not “wire management porn” worthy (there are subreddits for that), but it is significantly more organized and less bulky than before. The best part? I can now add or remove pieces as needed! No more tugging on wires trying to figure out what connects to what. Plus, the cabinet can sit much closer to the wall than before. As far as projects go, this was one of the easier and cheaper ones. The total cost was less than $75, but that included $30 worth of clips and Velcro ties, plus new cables. If you didn’t want to replace any cables, you could get away with well under $20 for nail-in clips and Velcro ties.
What did you use to clean up your wires? Any tips for the rest of us? Let us know in the comments!
