Can You Change the Size of a Projection Screen
Everyone makes mistakes. You have either made one, or you want to prepare in case you do. Either way, you are worried about the size of your projection screen. You’ve experienced a screen that is too large. It can be painful. If you have such a projection screen (or are worried that the size you plan to buy will be too large), you may be looking for a change. Specifically, a way to shrink that screen down. Is it possible? Let’s discuss!
The Answer is a Big Fat Maybe
The real answer is you should have bought the right size projection screen rather than trying to change it after the fact. We’ve got guides to help you out with that. If you haven’t bought yet, it is time to double-check your math.
If you already have the screen, then you may be stuck. Depending on the type of screen, you may be able to use some tricks to shrink it. With others, you’ll be either stuck with the large screen or forced to buy again. That stinks but sometimes it is the only answer.
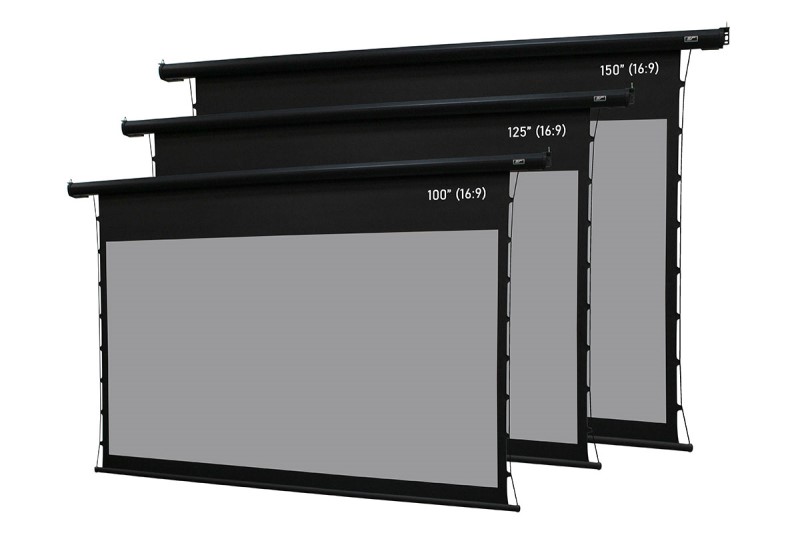
Retractable Screens (of Any Type)
Nope. There is nothing we can think of that you can do that will work reasonably well to change the size of a retractable projection screen. There are motorized screens with masking, but they are built that way and cost a TON of money. If you don’t have one, there is no way you can retrofit a masking system to an installed retractable screen.
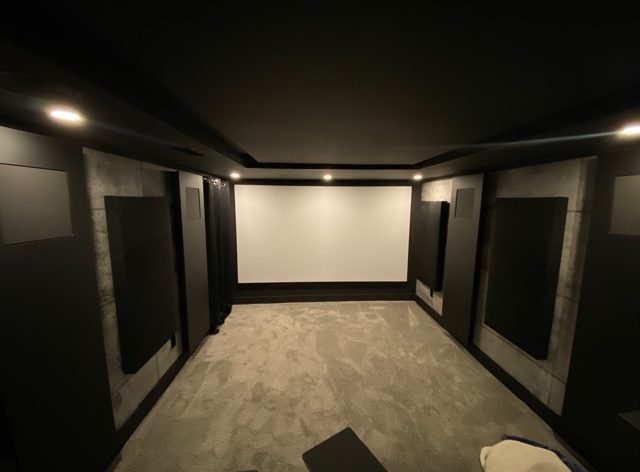
Fixed Frame Screens
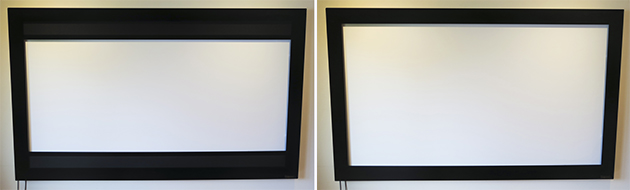
With fixed frame projection screens, you have more options for changing the image size. A projection screen, at its most basic, is a white screen surrounded by black fabric. What you really want to do is change the size of that black border so that there is a smaller rectangle of white screen. All the black border does is catch any overshoot so that your projected image doesn’t need to be perfectly square. A thicker border means that the viewable image will be smaller.
You’ll need some information before you can begin. First, figure out what size of image you actually want. This is easy. Using the zoom on your projector, shrink the image until it is the size you want. This will likely put the image in the middle of your screen. What you need to know is how much masking (or additional border) you need to add to your screen to get the proper size. We’d suggest living with this new image size for a while before you begin construction. If you are wondering what size of screen you should have bought, you can use this calculator to figure it out.
Constructing Your Masking
Once you have your dimensions, it is time to construct your masking. Some wood and velvet fabric will be the majority of your materials. You’ll need to either use plywood or construct a thin, wooden frame upon which to secure your velvet material. We’ll leave the specifics up to you. The idea is that you would construct side masking to cover the left and right sides of the white screen to frame the image. You can secure the masking to the frame with magnets (if your screen frame allows) or use some hooks. While you could, in theory, just wrap the sides of the frame in fabric, the edge likely wouldn’t be straight.
From the top and bottom masking, you have to make a decision. The easiest solution is to take the amount of masking you need in total (top and bottom), add it together, and make a single masking panel for the top. This would look a little weird with the lights on as the top border of your screen would be much thicker than the bottom. But it would make constructing and connecting the masking much easier. If you can use magnets (or some other solution), you could create top and bottom masking panels separately so that the screen doesn’t look strange with the lights on.
Of course, all of this assumes that you have a traditional projection screen. If you have an acoustically transparent screen, our plan still works, but you’ll need to make sure your masking panels are hollow (made from stick framing) and the masking material is also acoustically transparent. It’s still doable and doesn’t add that much to the cost.
Take Away
That’s about it! Increasing the borders of your projection screen will shrink the image size to something more manageable. If you got to the part of the article where it said to use the zoom feature on your projector to shrink the size of the image and you couldn’t get your projector to shrink it enough, you’ve run into a new problem. Either your projector will need to be moved closer to the screen (so that it can project a smaller image) or you’ll need a new projector. And if that is the case, then you might as well buy a new screen too.
