Making Your Own Acoustic Panels: A Tutorial
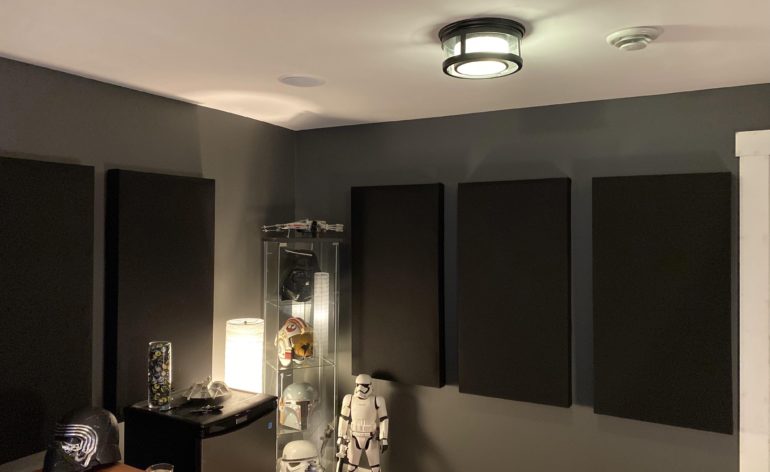
When I think of all the upgrades I have made to my setup over the years, adding room treatments has been the most significant, bar none! And because the acoustic panels made such a change in my speaker performance, when someone asks me for my opinion on a speaker upgrade, I ask them if they have treated their room first. So you will ask – why did you wait so long to treat the room? Cost, of course! When I received quotes for the 8 panels I wanted, the cost and shipping made them a “luxury” item that didn’t fit into my budget (more on that later!). That is until I decided to make my own, at a fraction of the price!
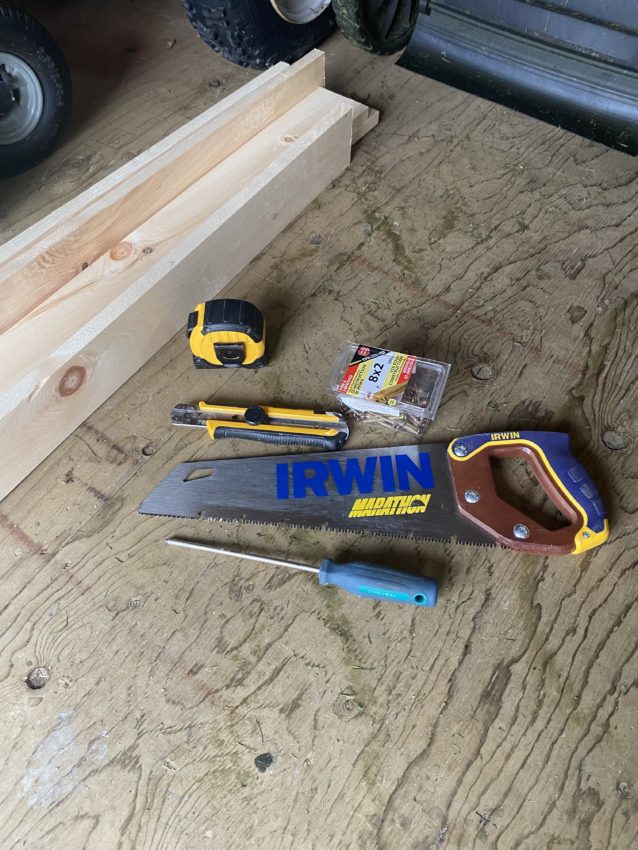
So before we begin, I have made this guide for the absolute beginner, but I will add some optional upgrades you can make to enhance your panels. Additionally, you will only need basic tools for these. Power tools make it easier, but none are needed. Lastly, take your time and be patient. I double-checked my work many times to make sure I didn’t make any mistakes. A few extra minutes here can save you some money and a lot of frustration.
Materials Required
- 1” x 4” pine strapping. You can also use 1″ x 6” to add in an addition air gap
- Owen Corning 703 or Rockwool Safe N Sound
- Acoustically transparent fabric – I used plain black speaker grille fabric
- 8-12 screws per panel. A box of 100 was more than enough for my acoustic panels
- Staples
- Picture hanging hardware – I prefer French cleats


10′ 1X4″ 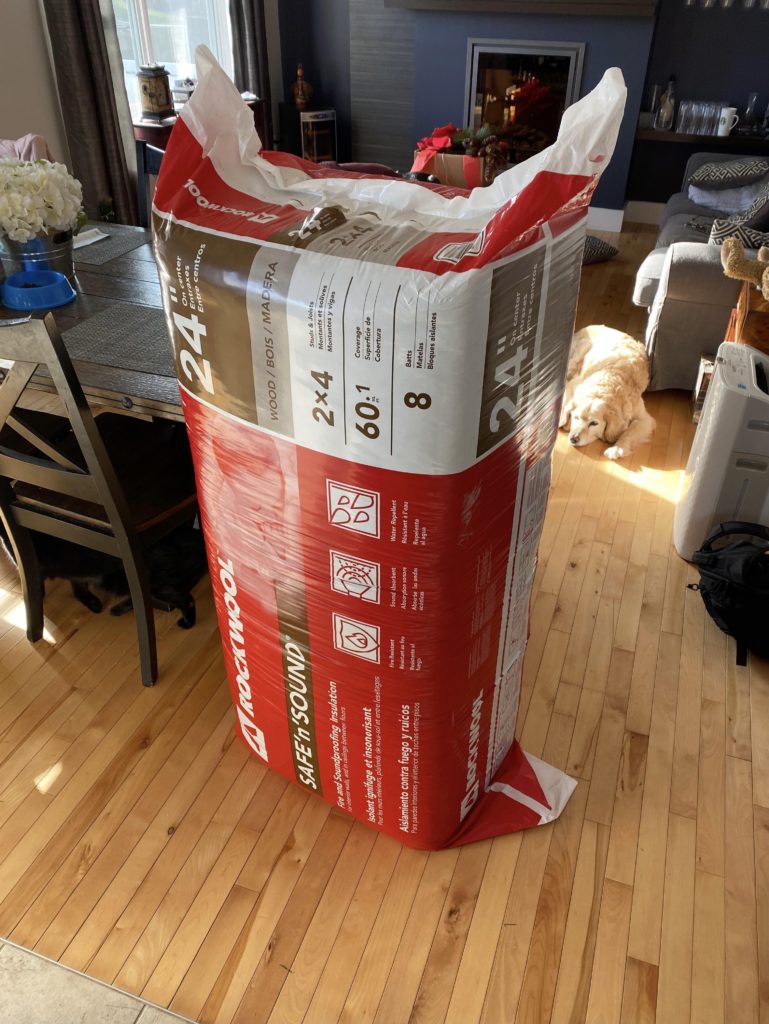

Rockwool Insulation 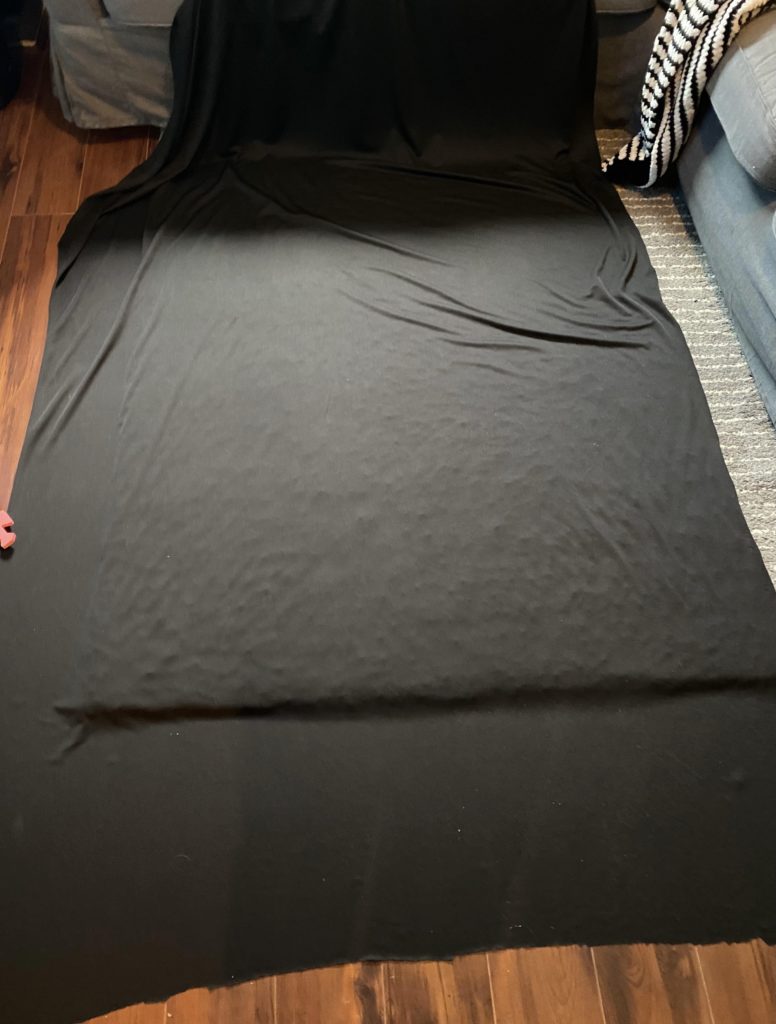

Speaker Fabric
Tools Needed
- Saw
- Straight edge
- Pencil
- Screwdriver
- Staple gun
- Utility knife / scissors
Optional Tools
- Chop saw / circular saw
- Drill / Impact driver / drill bits / screwdriver bits
- Framing square
- Hole saw
- Jig saw

Cost in Canadian Dollars
- Speaker grill fabric – $65
- Roxul – $93
- Wood – $85
- Box of screws – $10
- Box of Staples – $3
- Total – $256 for 8 panels or $32 per panel
In comparison, the cheapest I found was the same thickness panel in Canada was $79 for a 1.5” thick panel and $115 for a 2” panel. The total cost with taxes and shipping was just shy of $1100. The DIY version of these acoustic panels was a quarter that price. Much better!
Author’s Note: There are many places to buy these materials both locally and online. For insulation, the Roxul and Owens Corning perform the same so get the cheapest (just stay away from “acoustic” foam). Check out places like GiK for insulation and don’t be afraid to shop around for fabric. Just make sure it is acoustically transparent. I used black fabric, but you can use any color you want. Or even a printed fabric with a design or movie poster!
Planning The Acoustic Panels
There are 2 types of insulation you can grab, 16” or 24” on center. For my space, I wanted a 2′ x 4’ panel, so I went with the 24” on center. However, you can cut this to any dimension you want with a utility knife, you so can make them any size you want. Because the insulation is so rigid, you can also use multiple pieces from off-cuts. Waste not, want not! In any case, get the size of insulation that works best for your acoustic panels and results in the least amount of cuts.
Basic Build – Acoustic Panel Frames
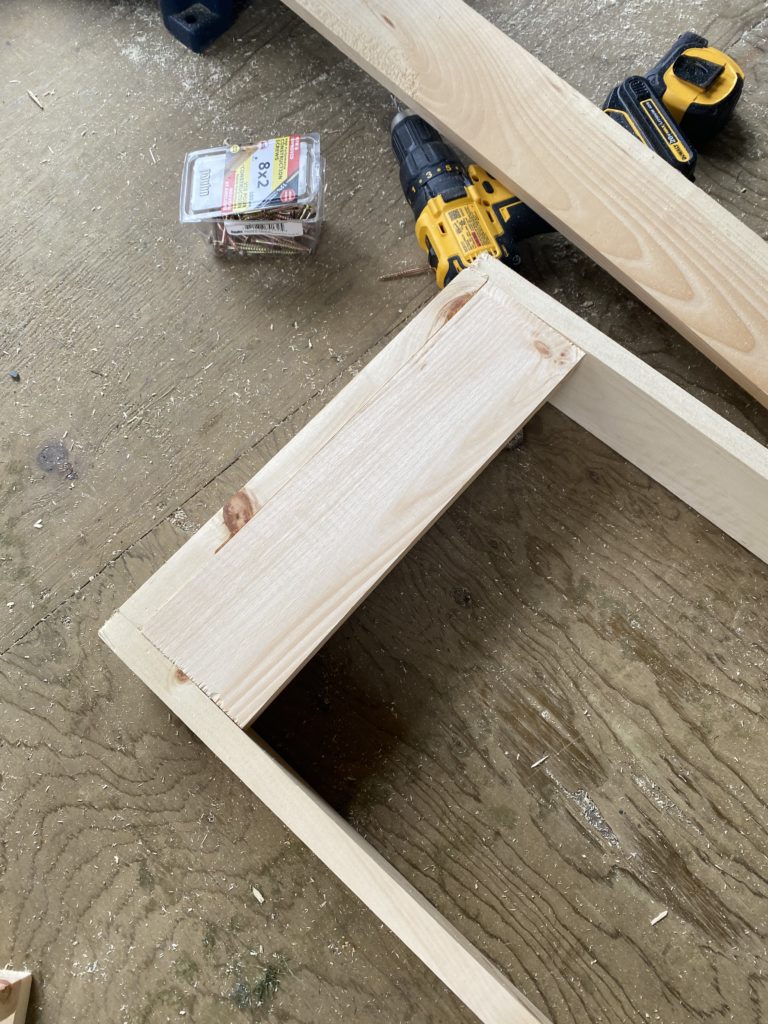
- For a 2′ x 4’ panel you will need to have two lengths of board, 48.5” and 23”. You will need two of each length for every panel. For my build of 5 panels, I had ten boards cut to 48.5” and ten at 23”.
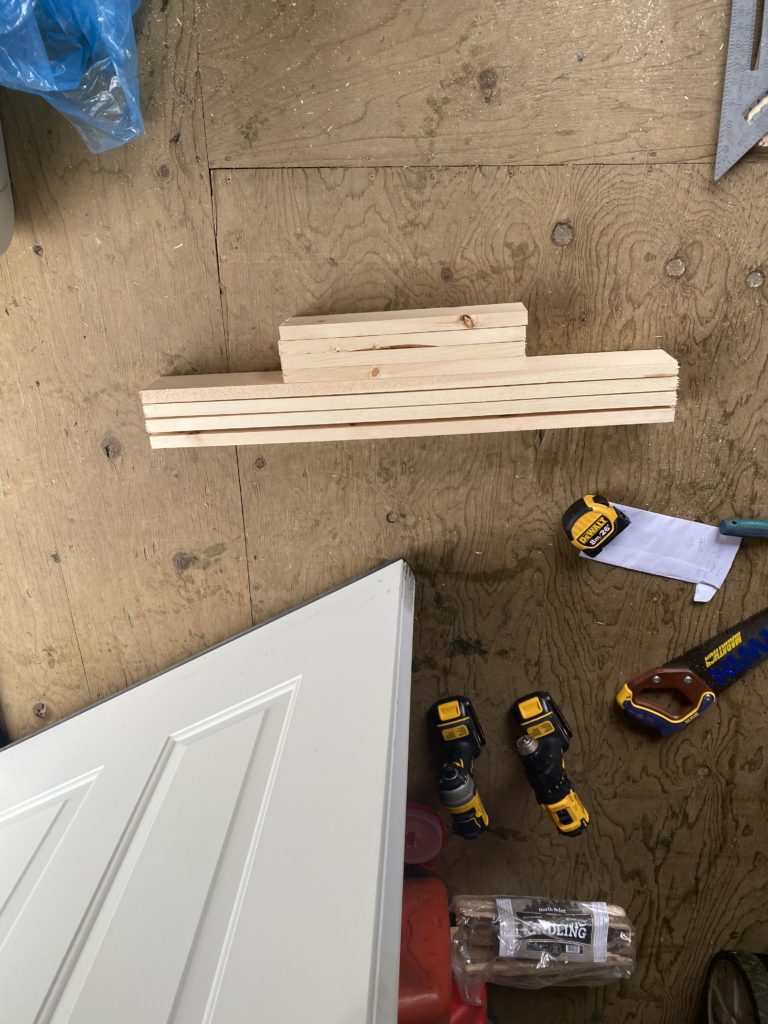
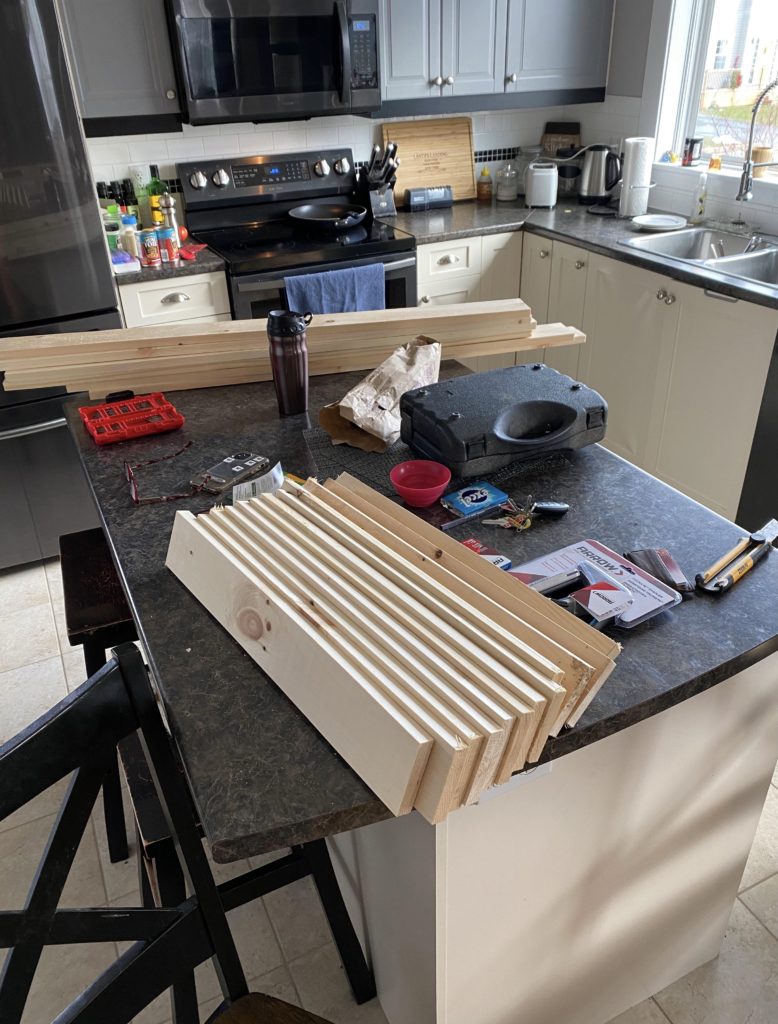
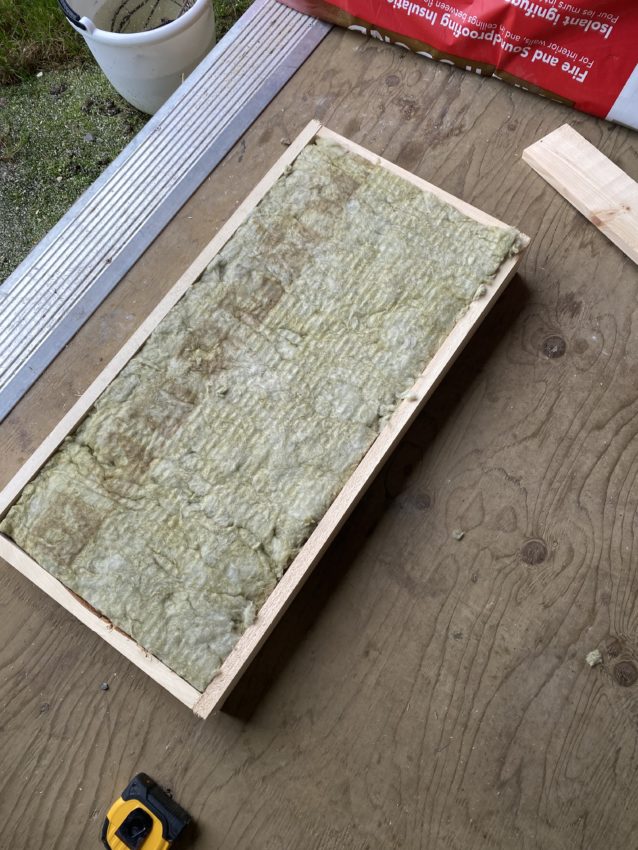
- Once the cuts are done, mock up your panel in the correct orientation before you start assembly. The 23” boards will sit inside the 48.5” boards. This will ensure the 2′ x 4’ insulation will snuggly in the panel with no sag.
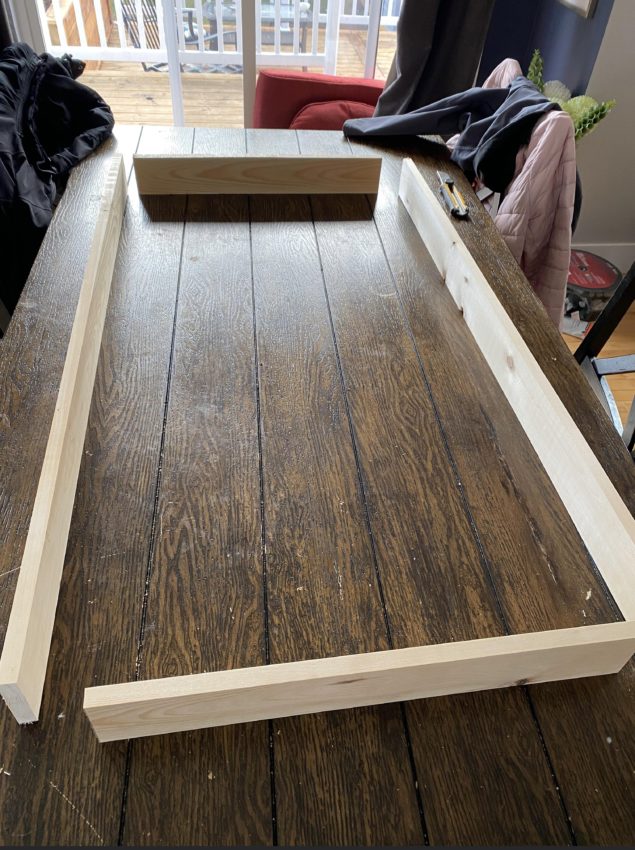
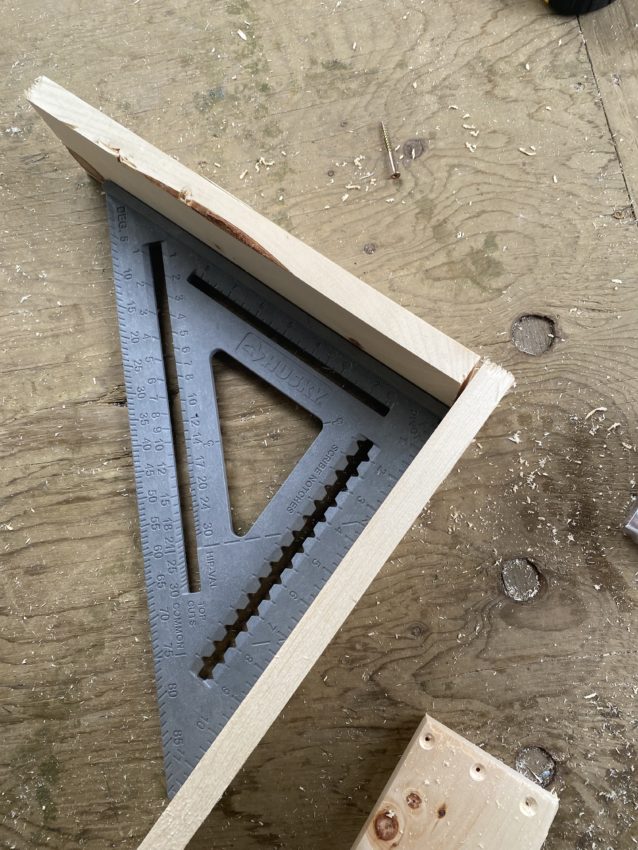
- Square the corners and start assembling. This is where a drill or an impact driver are insanely useful, but you can do it with a screwdriver and a mighty forearm. Take your time and make sure you don’t split the wood. Pilot holes help to prevent splitting and are highly recommend – especially if you bought the least expensive lumber you could find.
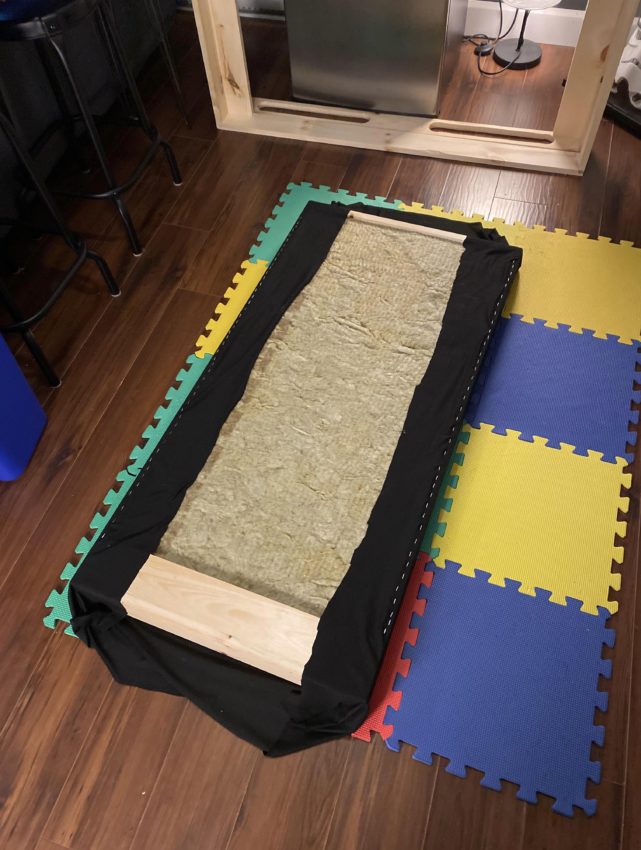
- Put in your insulation. It should slide in and be held in place by the sides and tops with no sags. If you have gaps, you may need to trim the wood, but if you followed my measurements, the rockwool should not sag or fall out.
Optional Steps for Overachievers with Lots of Tools
- I wanted to add some additional bracing at the top and bottom for extra rigidity in my acoustic panels. For this, I added two additional 23” pieces of wood to the back of each panel.
- In order to increase absorption at the sides, I added cut outs. I made these by drilling 4 holes in the acoutic panels. I connected them with lines to follow while cutting and used a jigsaw to complete the cuts.
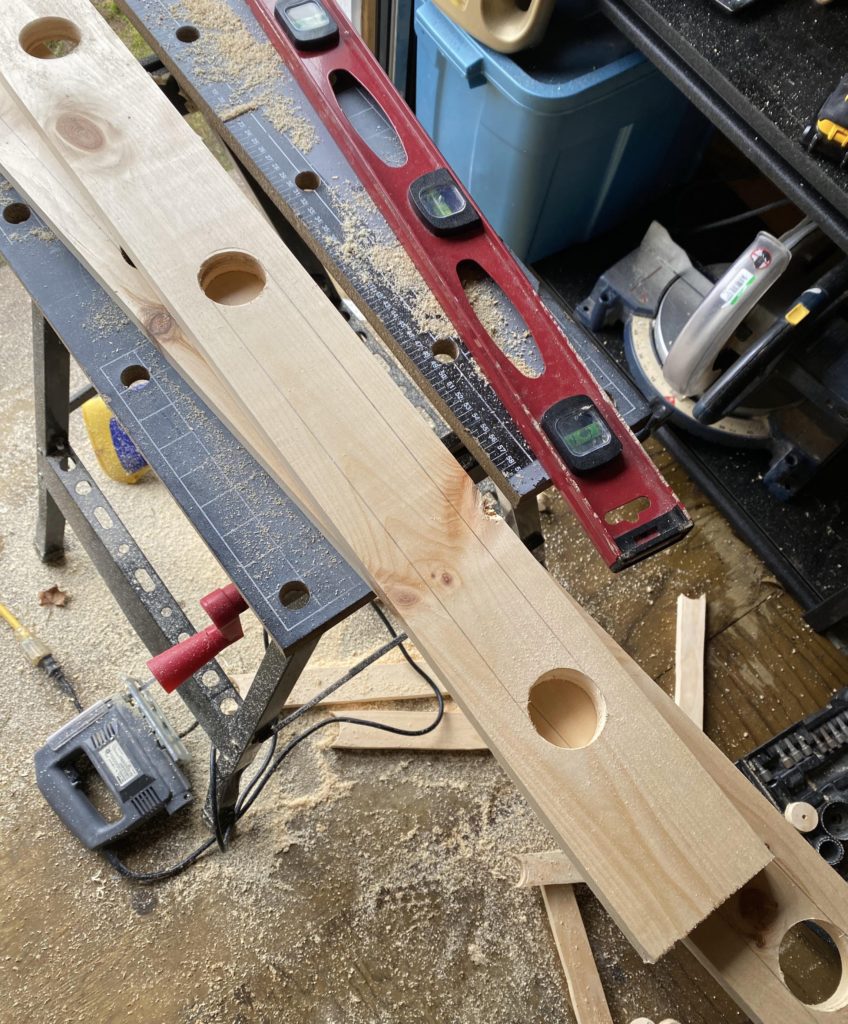

Speed holes…cause they make everything better! 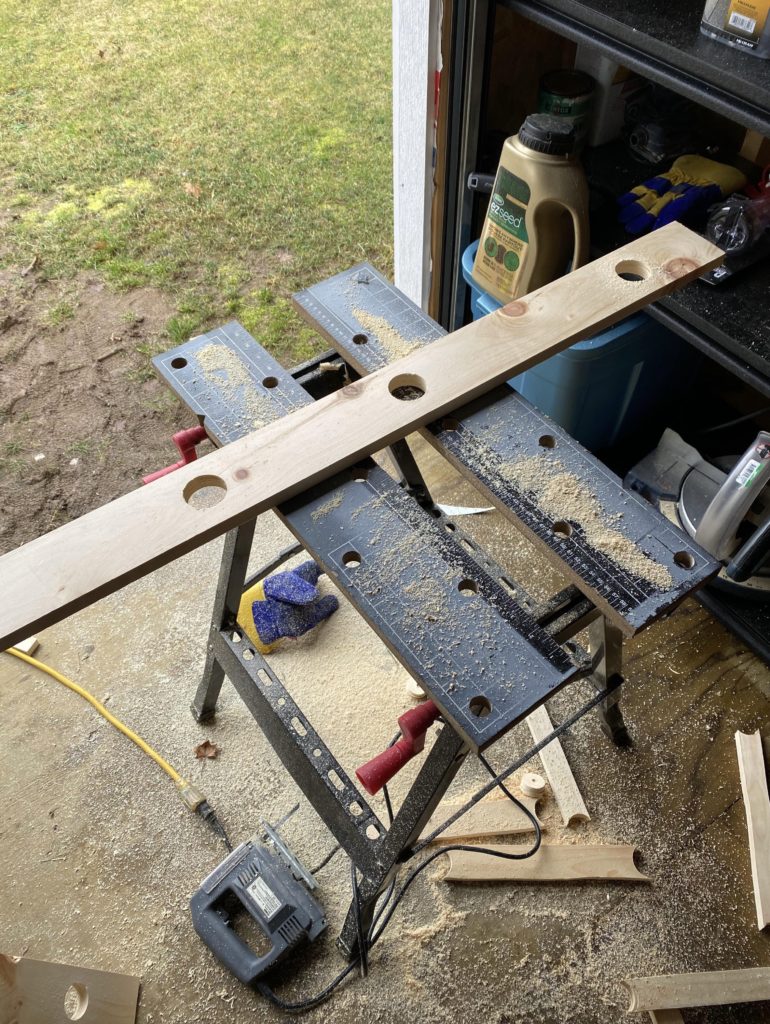

Connect the dots! 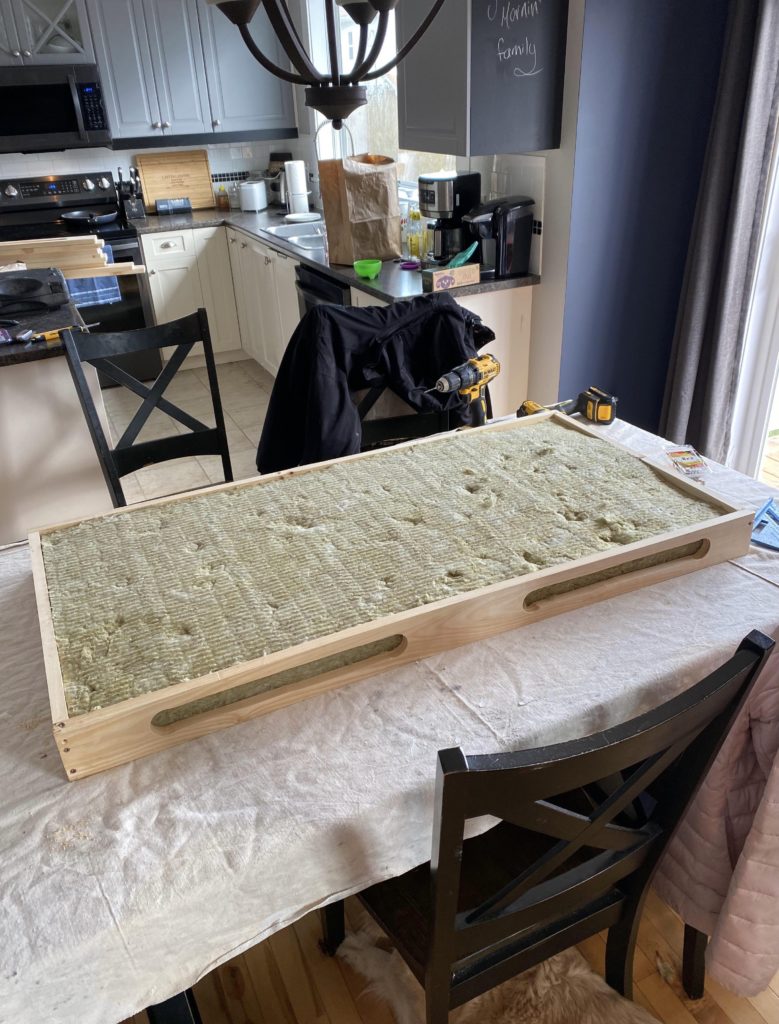

Finished product
- I pre-drilled and countersunk all the screw holes. This just made sure that no wood would split and no screws would sit proud of the panel
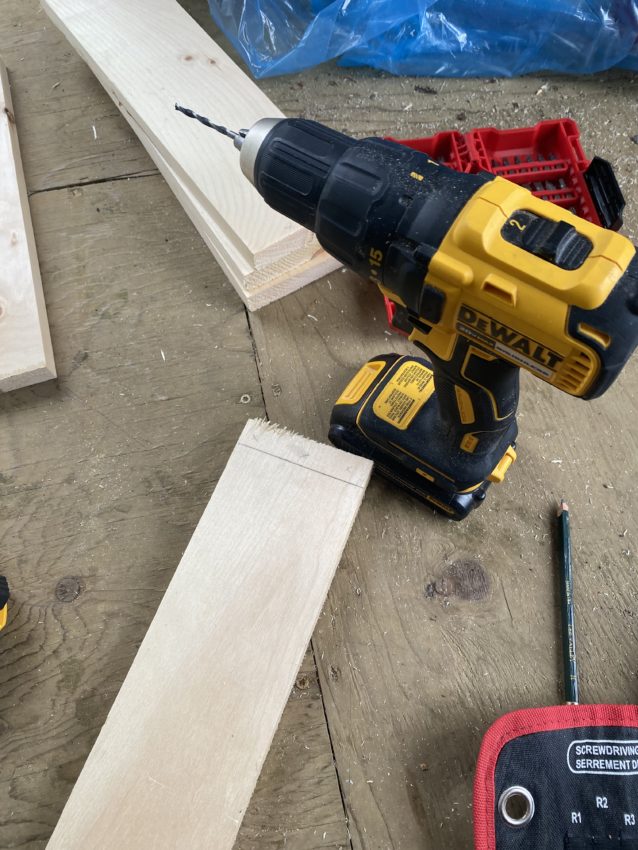

Making the template 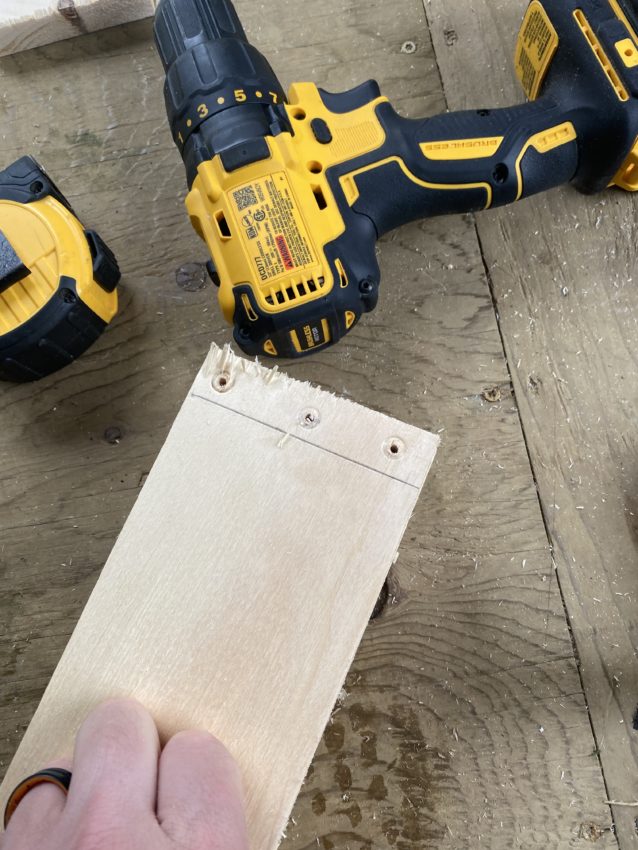
Drilling 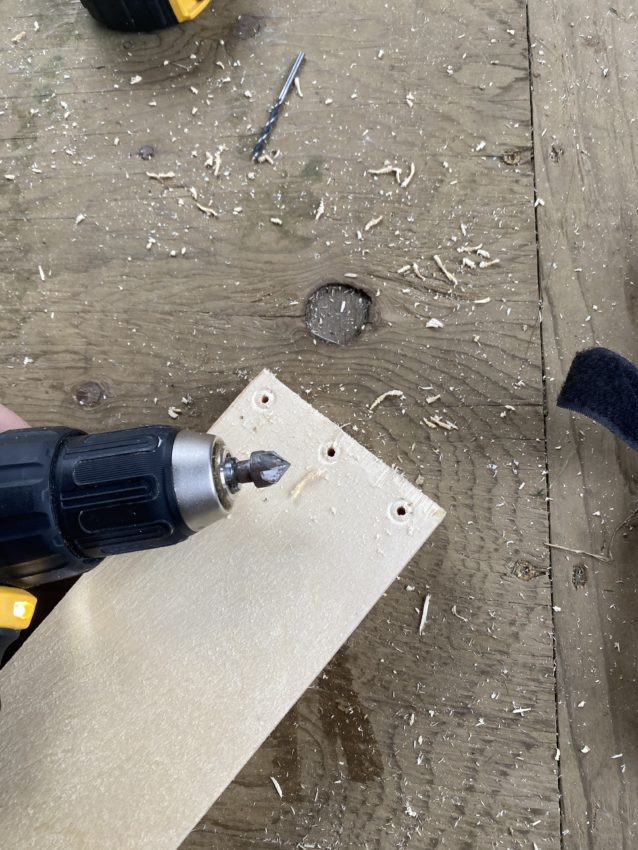
Countersink bit 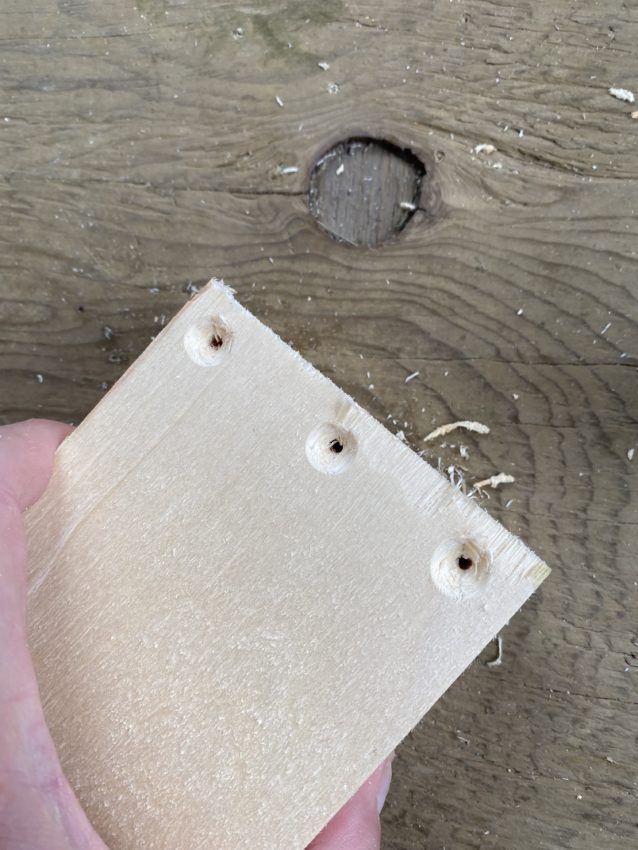
Done
Attaching the fabric
I purchased my fabric in bulk. This kept costs down and I purchased 10% more for waste or mistakes. You will need roughly a 54″ x 29” piece of fabric for each panel. This will give you about 2-3” of extra fabric all around. You don’t need that much extra and you will cut away most of it, but I found that I needed it for my first panel. Each additional panel had less waste because I knew exactly how to stretch and wrap the panel.
Sides and Tops
- Cut the fabric to the dimension you need.
- Lay it on a large flat surface (your floor is ideal). I used foam mats under mine to keep it from sliding on my floor.
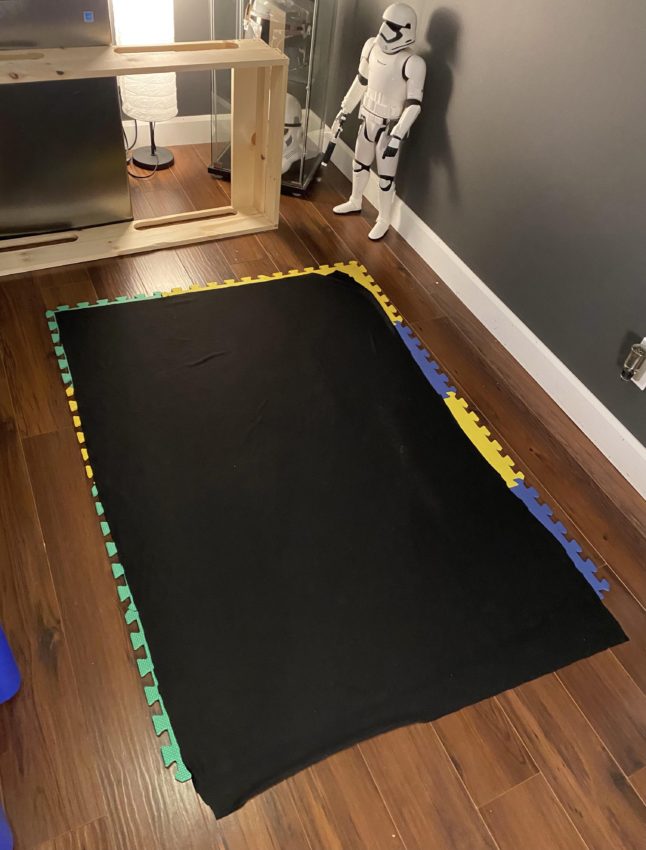
- Place the panel on the fabric and mock up the fit. Adjust as needed.

- Start on the long sides. Pull the fabric tight and place a staple in the center.
- Work your way down the sides, pulling the fabric tight as you go. More staples are better than less in this case. This will keep the fabric from wrinkling.
- Repeat on the other long side, ensuring you pull the fabric tight as you go.
- Repeat on the top. Start in the center and work your way to the ends.
Pro Tip: Anything with more give than the rubber mats I used makes stapling nearly impossible. You need the acoustic panel to “push back” as you are driving the staple in. If not, the staple will only partially sink.
Corners
Corners are not hard, but they take some time and patience.
- Start by pinning the overlapping side fabric to the top. You can trim off any excess so you won’t have a bulge.
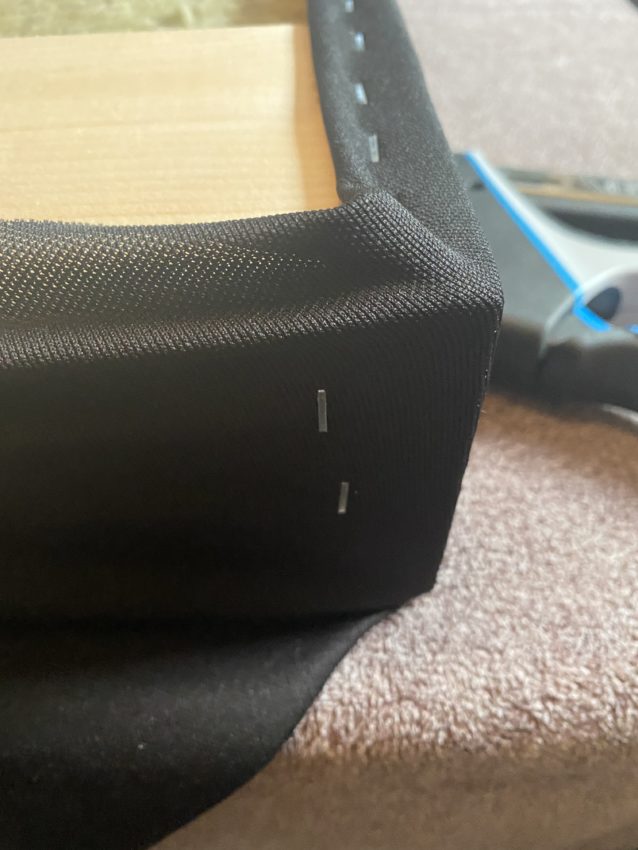
- Pull the fabric tight, line it up with your corner and staple in place.

Pull it tight 
Sure in place
- Trim off excess and staple in place.
Once you have all your fabric in place, you can trim off any excess material. Optionally, you can add a backing to the frame, making it look more finished. Just ensure the backing is also acoustically transparent.
Placement and Hanging
I won’t get into the nitty-gritty of placement and hanging. There are several great articles you can refer to that will help you with that. They can be found here:
Wrap Up
So as I stated, acoustic treatments are one of the best investments you can make in your space. Most forego it because of the cost of professional acoustical panels, and their perceived lack of skill to make their own. I hope that with this guide, you can take the leap and start to treat your room. Without being overly whimsical in my words, my speaker performance was night and day different. The acoustic panels tamed slap echo and “zings” within the room and breathed new life into my speakers. So before you invest in a costly speaker upgrade, spend a couple of hundred dollars and a few hours of assembling first!

Hi Andrew! if your insulation is 24 in. wide how come your side boardsa are only 23 in.? Are you compressing the insulation?
Hi Eli,
The 23″ board sits inside the other two boards, giving you the extra space to accommodate the 24″ panel. It didn’t make sense to me until I made the panels and screwed them together that they did measure correctly inside.
-A
Specifically speaker fabric? Or would another more decorative fabric work? I am working on the assumption here that the real key is the insulation, plus the added cut-outs on the sides.
Any acoustically transparent fabric will do.
Hey Guys,
If we wanted to make a thicker panel (say one with 6 inches of insulation inside), how would you go about doing that? Would the boards need to be thicker to accommodate the extra heft? I guess you would definitely need those wooden brackets behind the frame at the top and bottom to hold everything in…
Is it okay to stack the Roxul on top of each other inside of the enclosure? Would that create problems regarding the absorption? Also, what would you recommend to use so the panel can have a 2 inch air gap behind it? I would like to avoid having the panel directly resting on the wall.
Thanks for your help,
J
How would you go about
Hi J,
You can absolutely stack Roxul. Unlike traditional pink insulation, it is more rigid and if you have tight tolerances for the box, the friction should hold it pretty snuggly. I only added top bracing to help with french cleats and because I had some extra wood. As far as absorption, you would need to look at the acoustical properties of Roxul. More=more absorption, but there is a limit. You also can use an air gap for some of the same effect.
To give you some gap, you could use furniture bumpers. They usually screw into the bottom of a leg, and come in various sizes.
Thanks for the response, Andrew. I really appreciate it.
So if I went with 2 inches of Roxul and gave it a 2 inch air gap, I would be in the ballpark of the acoustic properties of the 6 inch Roxul panel due to the “diminishing returns” of the extra absorption? (I tried to phrase that better, but my cognitive abilities are more limited than they should be – I hope you understand what I’m trying to say)
That is actually the best way to describe it! There is a limit to what Roxul can do in frame. The other thing that I would do is cut out the side of the frame. In all of my panels, I routered out a good section of the side panels to allow for absorption from the side. With a thicker panel, you should also be able to take out a good amount and maintain strength.
I’m glad you understood that…I still don’t think I fully comprehend what I just said..
I like the side cuts in the panels pulling in more reflected sound from the side walls.
i won’t be able to add panels to the sides of our shared living room space; the Committee Of No has already ran that train of thought off the rails.
Do I have to worry about the furniture bumpers leaving any marks on the walls? Would covering the points where they contact the wall with foam pads make things better or worse? Part of me thinks they would act like some form of decoupling, but I have no idea.
Thanks again for everything.
I have yet to have anything stick to my walls, but I also let my paint cure for a month prior to doing that. Adding such a small bit of foam or felt would have no difference.
-A
Cool.
Thanks again, Andrew.
Great tip, love this. When you say movie poster, do you mean an actual movie poster made from paper or one printed onto fabric?
Thanks for posting this.