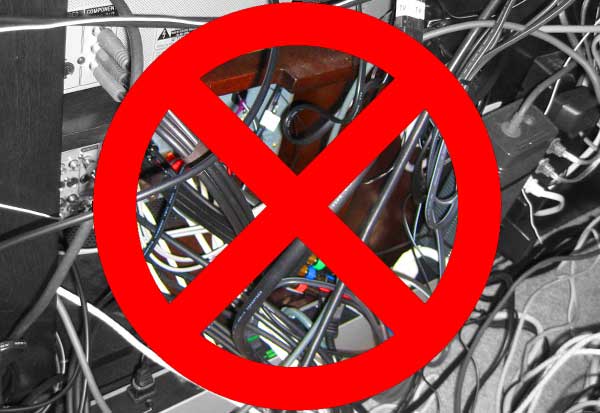
Cable Management for Home Theater—Get Rid of that Spaghetti!
When I worked at Soundelux, a post-production studio that had a branch located in Orlando, FL, I was surrounded by racks. Racks of patch bays. Racks of network cable. Racks of computers and storage devices. And all of those devices had power as well as low voltage cabling that formulated a big mess of “goesintas” and “goesoutas” (as we used to say). Cable management was something to be noticed and controlled.
Now, that was just the machine room. Then there were our individual edit and mix rooms. Each of those had at least one computer, multiple monitors, peripherals, amps, a mixing console, a patch bay, and audio speakers.
The potential for cable spaghetti was enormous. But our studio engineer would have none of it. He and his team kept things really neat and tidy, and I learned a lot of important lessons that I still use to this day (though I don’t claim to be even half as good as those men were at organizing cabling).
Still, here are my 6 tips for cable management—eliminating spaghetti and organizing your cables so that your equipment works efficiently, remains easier to access, and also looks nice (believe me, that last part is just as important).
Cable Management Tip #1: Keep Power Separate from Audio & Video
Above all, you want to keep your power cables separate from your low voltage audio and video cables. This would be really easy were it not for the fact that manufacturers seem to take great pleasure in not standardizing which side of the gear the IEC or attached power cable originates. I’m serious. Go look at your gear. It’s likely that at least one piece of equipment will have a power cable connection that’s opposite the rest. If not, then congratulations—you won the AV connection lottery!
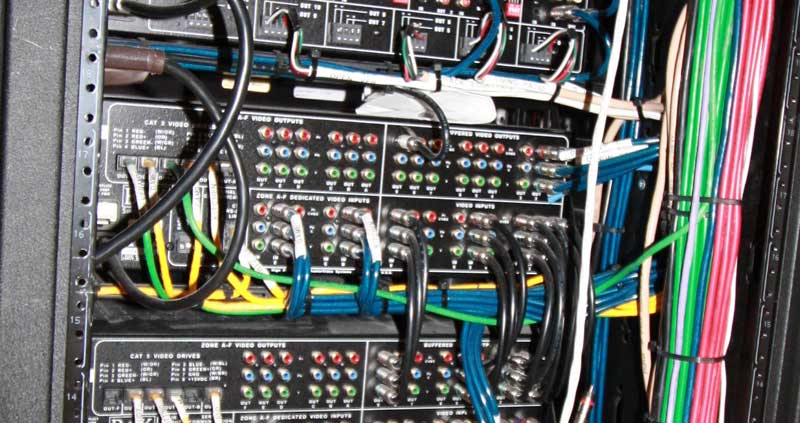
Regardless, the concept behind this directive is simple: low voltage cables are more susceptible to interference from the 60Hz power that operates your AV equipment. So pick a side. Good cable management will have you route and run your power cables to one side. Try and run your power between your stacked gear so that the device on top and the device from below can share a channel. When possible I also try to utilize different “planes” or depths for the cabling, with power running closer to the equipment and analogue and digital audio and video pushing out from the equipment and staying farther back.
When setting up a home theater system, I’ll typically structure my cable management so that I run my power on the right and my audio and video cables down the left side—this is from the perspective of facing the back of the gear. Further, I’ll jump my audio and video down to the bottom of the gear before running it horizontally. This gives me a nice clean path and avoids running cable overtop of connectors you may someday need. You want nice right angles when you organize cabling, Any diagonals or any cables running overtop the back of gear will only give you headaches later on.
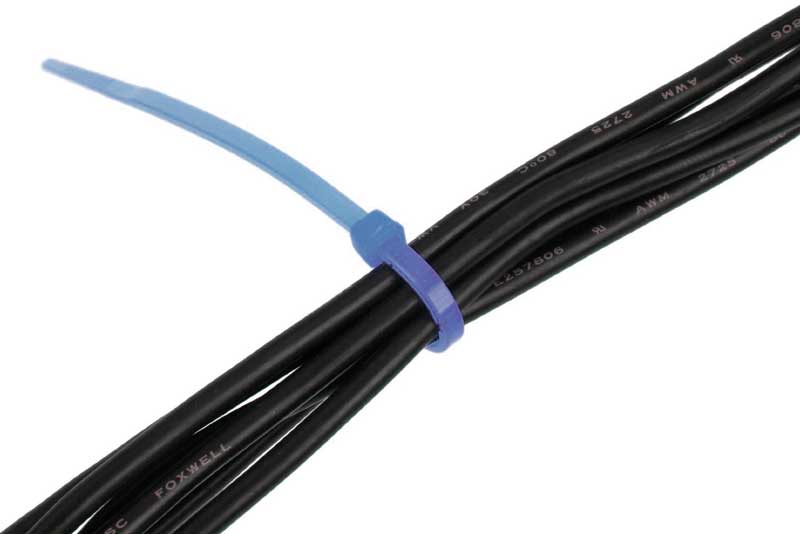
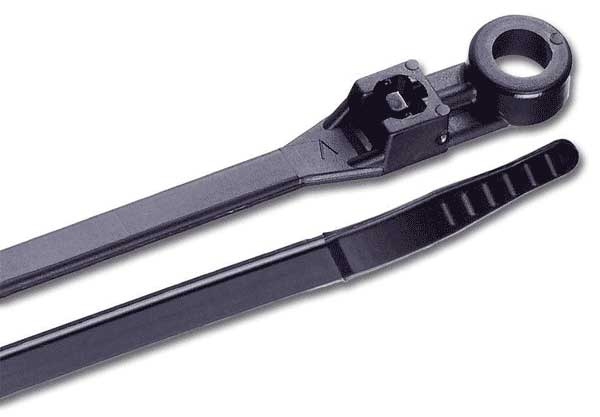
Cable Management Tip #2: Tie Wraps (Zip Ties) are Your Friends
Tie wraps are cheap. You can buy a bucket of them for $10—so don’t use them sparingly when diving into cable management. If you have a pair of snips handy, then redoing a run of tie wraps is as simple as cutting off the old and zipping up some new ones. Zip ties allow you to keep your cables bundled neatly, and you can then group them together into”trunks” to route them along your rack or AV furniture. These really are the little “tools” that make the difference between cable spaghetti and cable management bliss.
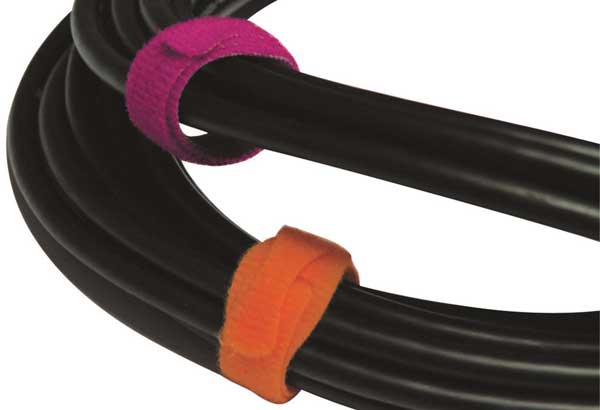
If you find there are certain areas you end up adjusting more frequently, then you can use velcro wraps which can be undone and redone as needed. In my opinion, however, if you keep your zip ties handy, it’s just as easy to cut and re-do those as it is to unwind a hook and loop system (sometimes easier).
Cable Management Tip #3: Secure Your Cable
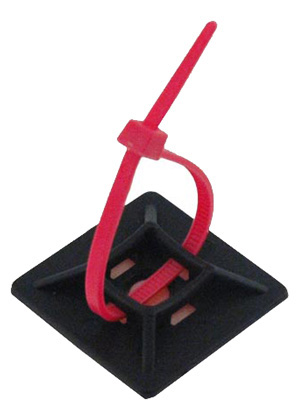
As you work to secure your cables into separated pathways, it may help to secure those zip ties to your shelving or racks. With racks, it’s fairly easy to find an available hole to tie down a bundle of cable, but for home users, utilizing a zip tie with an integrated screw hole is the solution. With these zip ties, you can easily anchor them to just about any shelf or piece of AV furniture. Once secured, you can then zip tie the bundle to the anchor point and direct your wires into controllable paths that keep everything nice and neat. If you aren’t confident that your installation will be long-term, however, then you’ll want to also investigate the use of sticky anchors that allow you to cut and replace zip ties as needed and serve only as an anchor point for whatever securing method you use.
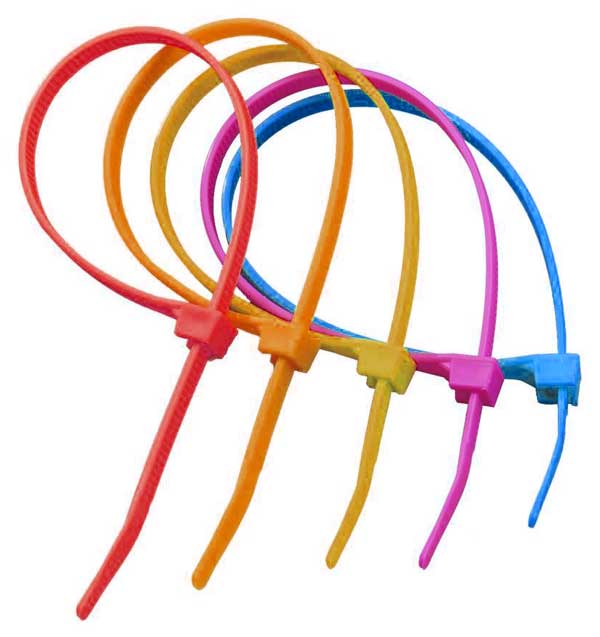
Cable Management Tip #4: Organize!
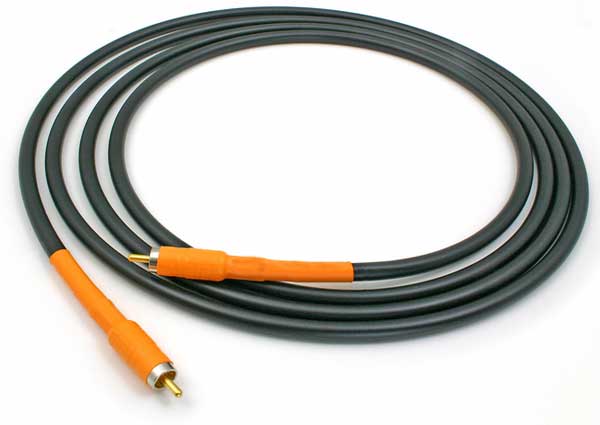
There are ways in which you can organize your cabling to better help you identify and isolate your equipment from any interference (and, frankly, to make your life easier the next time you upgrade). One way you can easily organize is to use colored cables. Colored HDMI cables are available from a variety of sources, but even just using an orange-sleeved RCA digital audio cable will stand out in the midst of other RCA cables which may be component video, composite video, or dedicated to a subwoofer. When used in conjunction with the above recommendations, changing up the color is a very nice way to aid in the reduction of cable spaghetti.
Cable Management Tip #5: Remove Unused Cabling
You’d be surprised how many times I realize that a particular cable has outgrown its usefulness. I once went behind a piece of home theater furniture for a friend and found that he had connected every single audio output for his Blu-ray player to his AV receiver. While it may be true that you could need an analogue audio feed for a second Zone, he had analogue audio, digital audio (both coax and optical) as well as component video and HDMI. That’s 8 cables coming out the back of this simple Blu-ray player. I removed everything but the HDMI (he didn’t run a second zone), and the cables were considerably easier to organize.
Cable Management Tip #6: Take Your Time
My final cable management tip is to simply take your time. Most of the time, when we get a new piece of AV equipment, we can’t wait to use it. Often, we just throw it in and watch that first movie or listen to that first album. (Yes, I still call them albums. Get over it.) The problem is when you do that over and over again you compound the problem and end up creating a lot of headaches (and less enjoyment time) later. Taking your time to properly integrate your equipment when you get it can make all the difference in the world.
Also, if you have a need to hide cables on or in a wall, we’ve got an article to help you out with that.


pretty low tech with audio and can not find any one with simple, straightforward help. You are articulate and funny as well. Hope in Humanity restored!!
Thank you!
Excellent addition for your own home theatre, sound system or even for office at home settings. Each and every device functions ten surges and also spikes safety outputs, adding in two extensive outputs for massive energy adaptors. Moreover provides 2 x USB slots for charging Handsets and also Tablets.