How to add Tactile Transducers to your Home Theater
There are times that you want the feeling of more bass, but without all the…well…bass. You may live in an apartment, you may share your home with others that don’t appreciate the pictures rattling off the walls, or you just can’t afford a subwoofer right now. Maybe your “theater” is really an open great room and getting that tactile bass is neither possible nor wanted. There can be lots of reasons people find themselves wanting to feel the bass but don’t want more sound. Adding tactile transducers to your home theater is a great solution.
What is a Tactile Transducer?
A tactile transducer is a device that attaches to your seat that literally shakes when certain bass notes are present. If you’ve been in a cinema and felt your seat vibrate during a big fight scene, that vibration was likely caused by a whole bunch of subwoofers pushing a ton of air. When you don’t have subs that can pressurize your room, that shaking doesn’t happen. Adding a tactile transducer system to your seats is a way of inserting the shake without all the bass.
What do you Need?
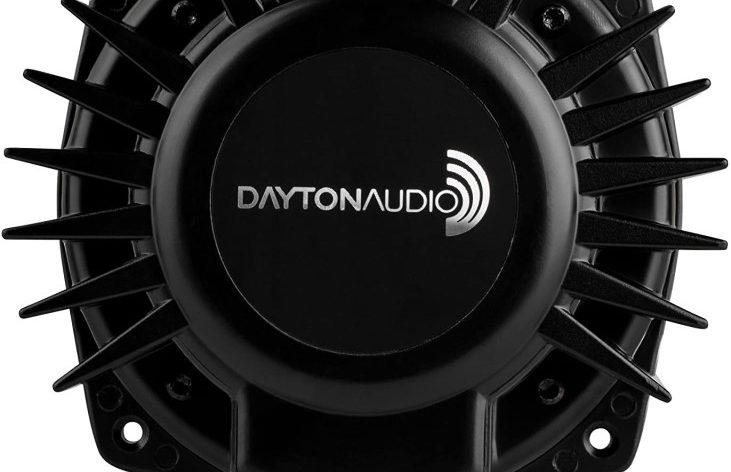
The basics are a tactile transducer or four, an amp, and some cables. The rule of thumb is at least two transducers per couch. Some people prefer two per seat! You’ll have to experiment to see what you like best. You can head over to Amazon or other places for individual pieces and put them all together, but the bundles are a little easier to manage. There are lots of options out there, but we like the bundles from Parts Express. Their offerings include a full-featured amp and up to four tactile transducers for cheaper than you can get the parts individually. The Dayton Audio bundle is a great option.
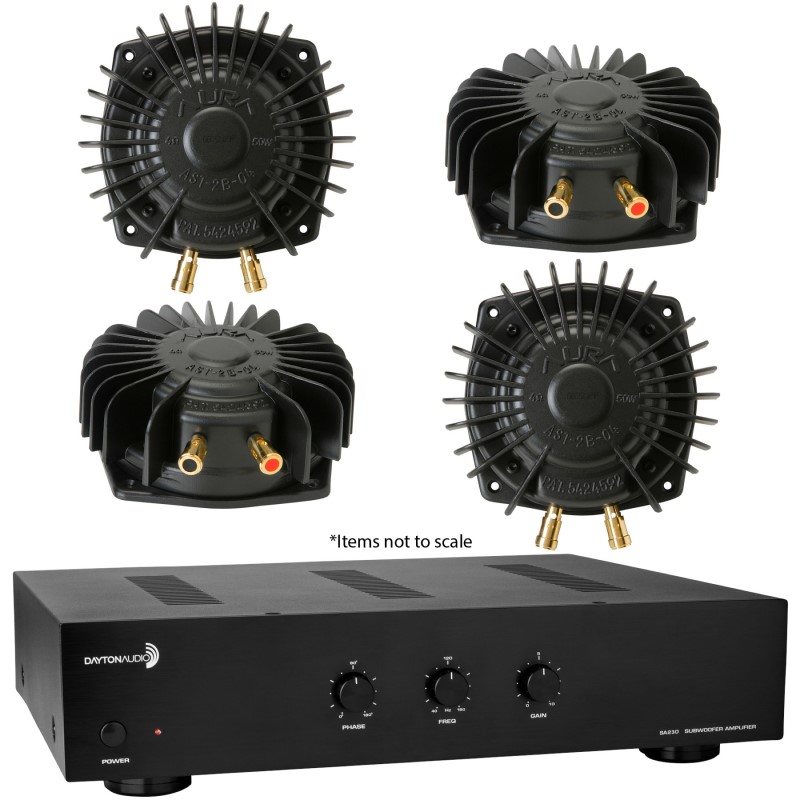
They have cheaper options with a simple plate amp, and other versions with only two tactile transducers, but this bundle has about everything you need sans cables. For cabling, you’ll need some speaker wire, an RCA Y-splitter, and a coaxial cable.
Connecting Your Tactile Transducers
A tactile transducer follows the same principles as a speaker – it moves back and forth to create waves. A speaker moves the driver cone back and forth to make sound waves. Tactile transducers move your chair to create vibrations you can feel. So, clearly, step one is to attach them to your couch.
This will require you to flip over your seating and find a solid area to attach the transducers. If you have a normal couch, that shouldn’t be much of a problem. If you have recliners, you’ll want to make sure that the transducers are attached in a way that they don’t inhibit the reclining functions. The key is to make sure that the transducers are connected at all points available (usually four). Leaving one attachment point unconnected can introduce noise as the transducer vibrates against the couch instead of vibrating the couch.
If you have no good connection points, a simple fix is to add a wood mounting plate under your seats. A piece of plywood or 2×4 works well. Make sure the wood is connected securely to the couch frame and centered under the seat. You can also put a plank of plywood under your couch and attach the tactile transducers to that. Consider bolting the couch legs to the plywood to make sure the connection is stable and noise-free. If you have seats on a riser, adding the tactile transducers to the riser will vibrate everything on top of it.
Decouple Your Couch
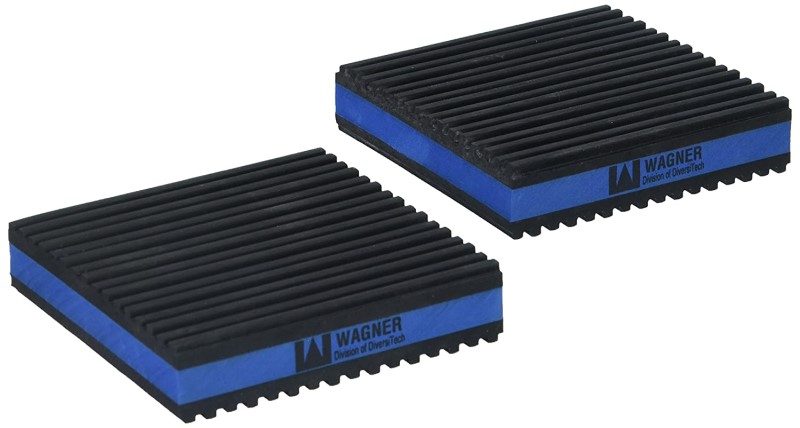
It is important that the seats (or the wood mounting plate it is sitting on) are decoupled from the floor. This ensures that the couch will vibrate freely and that the vibrational energy will not be dissipated into the floor. We recommend these Diversitech Anti-Vibration Pads. They are built for heavy-duty use and will make sure that all the vibrations are kept in the couch. You’ll need one for each foot or, if you have created a platform for the couch to sit on, you’ll want to add enough pads to support it off the ground.
Connecting the Transducers to the Amp
You’ll be connecting the transducers to the amp via speaker wire. Most tactile transducers are 4 ohms. If you are buying the pieces separately, you’ll want to make sure the amp can handle a 4-ohm load. When connecting more than one, you’ll want to make sure you don’t overload the amp by improper wiring. We recommend wiring in series for two, and series/parallel for four. Series/parallel is when you wire two of the transducers in series and the other two in parallel. This evens out the load for the amp.
We’ve talked about speaker impedance before, but the key here is to keep the impedance as close to the rating of the amp as possible. For the amps that are bundled with transducers, that is normally 4 ohms. For others, it might not be. When you are wiring in series, remember that you are doubling the ohm rating (from 4 to 8 in the case of the Daytons). A higher number is actually EASIER on the amp. When you wire in parallel, you are halving the number (from 4 to 2). That is much harder on the amp and will likely result in the amp getting very hot and shutting down. By wiring four transducers in series/parallel, you keep the rating at 4 ohms, which should be just fine for the amp.
Connecting the Amp to your Home Theater System
The easiest way to connect your home theater system to your new tactile transducer gear is using a Y-splitter on the subwoofer output. This will allow you to attach your AV Receiver’s subwoofer output both your subwoofer and the amp for the tactile transducers. If you are using an amplifier that does not have a dedicated LFE input, just pick one of the channels (left or right) and connect the input into one of these. Then, make sure you only use that channel when connecting the transducers. As the signal is mono, that shouldn’t be a problem.
Author’s Note: This only works if you are NOT running a room correction program within your receiver. If you are, you’re going to need to take a few more steps. See the section on room correction below for more details.
One of the reasons we like the Dayton bundle is because of the amp features. Most standalone amps will have limited inputs and few controls. The Dayton has such features as auto on, 12-volt triggers, pop-out adjustment knobs, and lots of inputs. The 12-volt triggers are particularly handy as they ensure that your tactile transducers are powered on every time your receiver is turned on. While the auto-on sensing is nice, we like to be sure. 12-volt triggers give you that security.
Calibrating your Tactile Transducer System
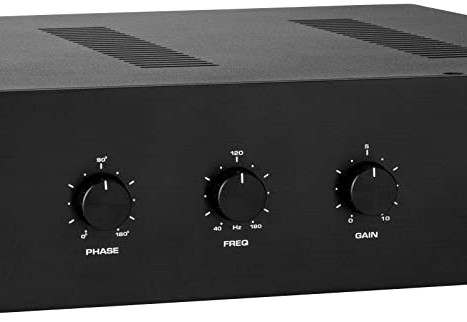
There are two major settings you’ll want to address with your tactile transducer – gain and crossover. With the crossover, you are deciding how much of the bass you actually want translated into vibrations. The Dayton (and others) have a low pass filter knob usually labeled “Frequency” or something similar. This control tells the amp the HIGHEST frequencies you want sent to your tactile transducers. There are different schools of thought on where you should set that knob. We believe that only the lowest frequencies should be sent but others prefer it to be higher. Experiment for yourself and see what you like. The goal is to add realistic vibrations in our opinion. But if you want your couch bouncing like it is trying to do the worm, who are we to say different?
Of course, the next setting is the gain. This gives stronger or weaker vibrations. There will be lots of variables that affect how much gain you’ll need. The design of your seats, how securely the tactile transducers are attached, how decoupled the couch is from the floor, how many transducers you have per seat…the list goes on. Again, you’ll need to test for yourself what works in your setup.
Tactile Transducers and Room Correction
If you have a modern receiver, you will have access to some sort of room correction system. Depending on the complexity of the system, it may have calibrated the bass so that it is more even across all the seats in your home theater. Some people worry that those calibrations will adversely affect the performance of the tactile transducer. They are very right to do so. The main cause for problems with tactile transducers is the room corrected bass signal that has been EQ’d by your AV Receiver. There are a couple of ways around this.
Solution 1: No Room Correction
We don’t love this recommendation. If you turn off your room correction, your tactile transducers will get an unadulterated signal. This is great for your tactile transducers but terrible for the sound in your room. You paid for a receiver with a great room correction system, why would you want to turn it off? You wouldn’t.
Solution 2: Connect Directly to the Source
If you are using your tactile transducers mostly for one source, you can connect the amp for the transducers directly to that source. This will be hit or miss depending on the source. Not all sources have more than one audio output, that those that do don’t always have both of them enabled at all times. If this works for you, this is the easiest and least expensive option. Of course, your tactile transducers will only work with that one source. If that is the only source you care about, great. But most of us have more than one source.
Solution 3: Undo Your Room Correction
This is where things get messy. If you want your tactile transducers to be active for all your sources, you’re going to have to undo what your room correction did to the bass signal. This is not a terribly complicated process but it does require the purchase of a couple of pieces of gear and a bit of time on your part. First, you’re going to need a measurement microphone (we love the Calibrated UMIK 1 from CrossSpectrum Labs) and the free program Room EQ Wizard (colloquially known as REW). After you run your room correction program, you’ll need to measure the bass response with your room correction on and off. This will let you know what your room correction program is doing to the signal. You’ll use REW to create an inverse calibration so that it “undoes” what your room correction is doing.
Author’s Note: How to use REW is beyond the scope of this article. Check out the REW website for more information. Yes, it is complex but if you want your tactile transducers to work properly, you’ll want to do it.
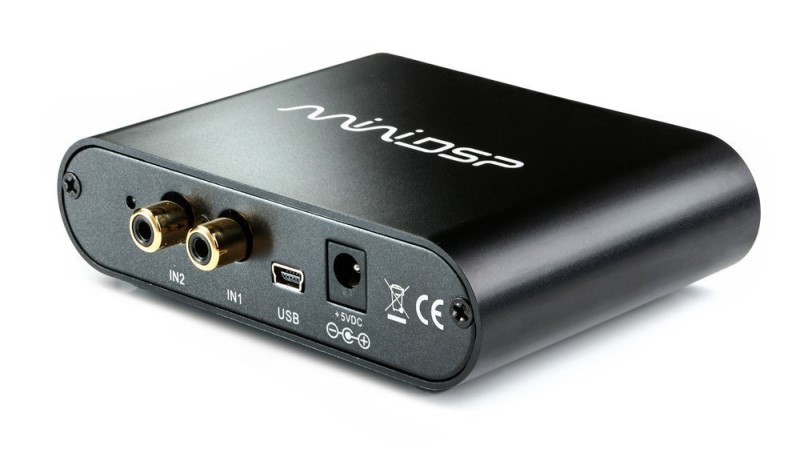
Next, you need a way to add that correction to the signal going to the amp for the tactile transducers. The miniDSP 2×4 is the easiest way to do that. So, to integrate your tactile transducers properly into your system, you’ll need to add about $300 worth of gear. Not an cheap fix, but it is the one that will give you the best results. The miniDSP is a very powerful device that can be used, in combination with REW, to calibrate your subs by itself. This leads us to our last solution.
Solution 4: Calibrate Your Subs Separately
If you are going to invest in a miniDSP anyhow, you can use it and REW to calibrate your subs. If you do so, then your room correction won’t have to do much to the signal and can be safely split as described in our connection section above. This is the most expensive and time-consuming solution. For this, we’d recommend you pick up the miniDSP with Dirac system. Dirac is its own room correction system. While you could use it to correct your whole system, it would require you to have separate amps for every channel and a $1000 miniDSP device. If you go this direction, we’d recommend using the miniDSP to correct your subwoofers only.
Other Possible Solutions

There are other solutions depending on your gear. You may be able to hook your tactile transducer amplifier to your Zone 2 on your receiver. You’d have to program your remote to adjust the volume of Zone 2 and your main zone at the same time, but it should work (in theory). This assumes that your receiver can route all sources to both zones simultaneously and it adds the LFE information into the Zone 2 left and right speakers.
If you have a higher-end processor, you may be able to assign a subwoofer output with no correction. Some better-known examples include the Trinnov Altitude, Emotiva RMC-1, and Monolith HTP-1 processors.
Lastly, if you have Audyssey, you could use the editor app to remove any room correction at the frequencies where the tactile transducers are operating. We don’t recommend this as the bass is where room correction is most needed. But you could. We wouldn’t. But you might.
Conclusion
Like many things in life, adding tactile transducers to your home theater system starts off pretty simple, but can quickly become complicated. If you want that extra kick that tactile transducers can provide, we recommend you start off connecting with a simple Y-splitter after you run your room correction. You might not need to worry about the corrected signal giving your tactile transducers problems. If you do, you can always try out our solutions. In the end, you’ll end up with a lot more tactile feeling in your theater. And that’s the goal.

One thought on the reverse calibration comments. Simply reversing what the room correction has done is very likely the wrong answer. The tactile transducer will have a resonant frequency and is likely not flat. In addition the couch or chair resonance and mounting point will also impact the response.
If you have the ability to run REW do a sweep of the couch and shaker combo with the receiver room EQ in place. Then look at the total response and dial in the EQ with sweeps taking in to account the frequency response you see along with your desired response via the “Butt meter”
Good point! Thanks for sharing