Best Budget-Friendly Home Theater Upgrades That Actually Make a Difference
So, you’ve got a home theater setup. It’s decent. But every time you sit down for movie night, something feels off. The picture could be sharper. The sound could be punchier. But upgrading sounds expensive, right? Not necessarily. Here are our best budget-friendly home theater upgrades that actually make a difference—without maxing out your credit card.
1. Better Speaker Placement (For Free)
Before you drop a dime, check your speaker positioning. Small tweaks can make a world of difference. Move your front speakers so they’re level with your ears when seated, slightly angled toward your listening position. Keep subwoofers out of corners to avoid booming, muddy bass. Rear ported speakers need some breathing room, so bring them away from the wall.

If you want precision, consider using a laser distance measurer to ensure your speakers are equidistant from your seating position. Or use a tape measure. It’s cheap, and this was supposed to be budget-friendly!
The good thing, if you don’t like the way they sound, you can move them back.
Additional Reading
- Home Theater 101: Basic Speaker Setup Guide
- Positioning Surround and Atmos Speakers
- What To Listen for When Positioning Your Subwoofer by Ear
- Speaker Overkill – How to Know You’ve Got Too Many
- High TV and Speaker Placement
- I Can’t Put Speakers in My Ceiling – What Do I Do For Atmos?
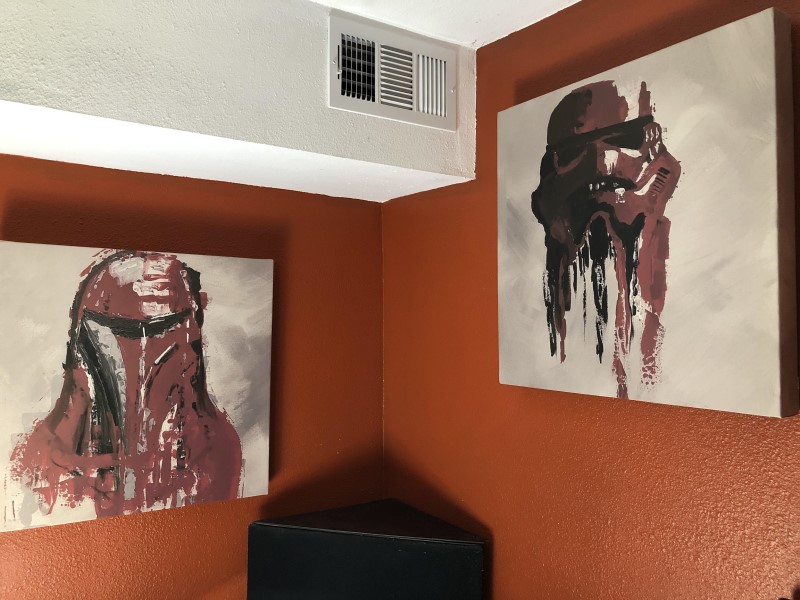
2. Acoustic Panels (Or DIY Sound Treatment)
Reverberation and poor room acoustics can wreck your sound. While high-end acoustic panels can be pricey, you can DIY some effective solutions. Thick curtains, rugs, and strategically placed foam padding absorb echoes and improve clarity.

I made all of my home theater panels myself, and I wrote a guide here if you want to do the same. Don’t have a DIY bone in your body? There are some less expensive options out there. And if you are scared about having some big black or grey monoliths in your space, there are lots of alternatives to hide them or blend them into your room decor.
Additional Reading
- Where to Place Absorptive Panels in your Home Theater
- Are Acoustic Panels Safe?
- Terrible Reasons for Buying (or Not Buying) Acoustic Panels
- Air Gaps and Acoustic Panels – Why and How Much
- DIY Acoustic Panels – How Much Insulation is Too Much?
- Do Small Home Theaters Need More or Fewer Acoustic Panels?
- Can Acoustic Panels Make Your Home Theater Sound Worse?
- Can I Put My Acoustic Panels Behind a Curtain? Reader Challenge!
- Wide Rooms and Acoustic Panels
3. A Cheap Subwoofer Isolation Pad
Those rattles you hear in your room? That’s not bass. That’s your subwoofer shaking a bunch of stuff in your house and making noise. A simple isolation pad (or even a thick yoga mat or some stacked mouse pads) prevents unwanted vibrations, keeping your low-end punchy and controlled.
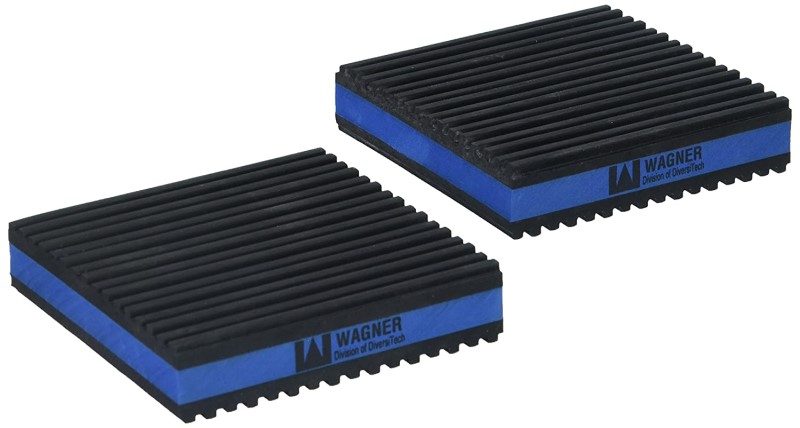
A great budget-friendly option are anti-vibration pads for appliances. These can isolate your subwoofer and dramatically improves bass clarity. If you want to step it up a bit more, SVS offers the SVS SoundPath Subwoofer Isolation System that can be fitted to virtually any speaker.
Additional Reading
- The Three Best Options to Decouple Your Subwoofer
- How to Eliminate Rattles in your Home Theater
- How To Best Decouple Your Speakers
- Is One Subwoofer Isolation Solution “The Best?”
- Strange Rattle from Your Speaker or Sub? Here’s One Unusual Cause to Check
4. Upgrade Your Streaming Quality
You’re paying for 4K Netflix, but are you actually getting it? Make sure your streaming settings are maxed out and check your internet speed—many services reduce quality if your connection isn’t fast enough.
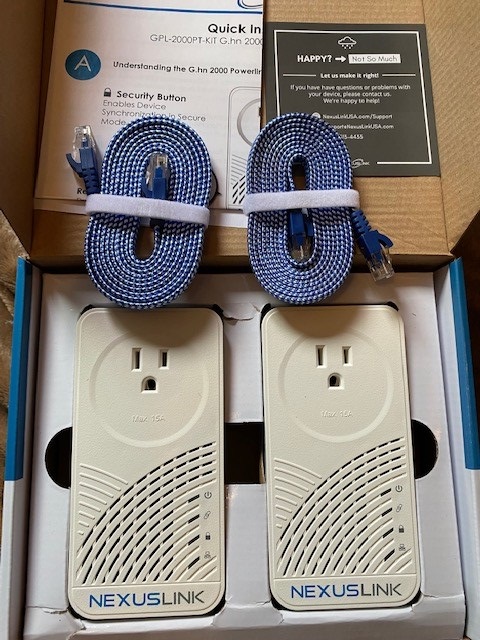
Switching to a wired Ethernet connection instead of Wi-Fi helps stabilize your streaming. If your router is far from your setup, consider the NexusLink G.HN 2000 WAVE 2 Ethernet Adapters. These adapters use your home’s electrical wiring or existing coax connection to deliver a strong, stable connection without running long cables.
5. Bias Lighting for a Better Viewing Experience
A simple LED light strip behind your TV reduces eye strain, improves contrast perception, and makes everything look more immersive. You can get them cheap on Amazon for whatever size display you have.
For a high-quality bias lighting setup, check out Govee’s Envisual TV Backlight T2. It syncs with your screen’s colors, creating a dynamic, immersive experience that enhances your viewing.
6. Proper Calibration (For Free or Dirt Cheap)
Your TV’s factory settings aren’t doing you any favors. Take 10 minutes to properly adjust brightness, contrast, and color saturation using free calibration tools.

For a quick and effective calibration, check out Rtings, which provides recommended settings for many popular TVs. If you prefer a more hands-on approach, YouTube has great guides that walk you through the process step by step.
Our Take
Here are our best budget-friendly home theater upgrades that actually make a difference. That’s right, improving your setup doesn’t have to cost a fortune. These simple tweaks enhance sound, picture quality, and immersion, with some requiring little to no investment. Try them out and experience the difference for your next movie night!
