Simple Trick to Identify Speakers and Wires
Home theater has gone from 5.1 surround to 7.1 surround to (at the time of this writing) up to 9.1.6 Atmos. That’s a lot of speakers. Usually, when you are installing them, remembering which wire goes to which speaker isn’t a problem. You install the speaker. You attach the wire to the back of the speaker. Then you attach the wire to your receiver. Easy. But what happens when you want to switch receivers? How do you identify which wires go to which speakers? We have a simple trick to help you identify which speaker is connected to which wire.
Before You Unhook
First things first: You should have labeled your wires. You know that, we know that. But you didn’t and we can’t blame you. You’re excited! You have a new receiver or amplifier and you wanted to get it hooked up. Plus, the equipment rack is tight and you can’t see what each speaker terminal is labeled, and…we get it. It was inconvenient. But now you have a mass of wires and no idea which wire goes to which speaker. What do you do?
Grab A Battery

Regardless if your speakers are freestanding or installed in a wall or ceiling, this trick for identifying the speakers and wires will work. Grab a battery. We like a 9 volt as it doesn’t put out too much power and is easy to work with. You can also use a AA or AAA battery. Nothing larger as they might damage your speaker. This works best if you have a friend or family member to help you out.
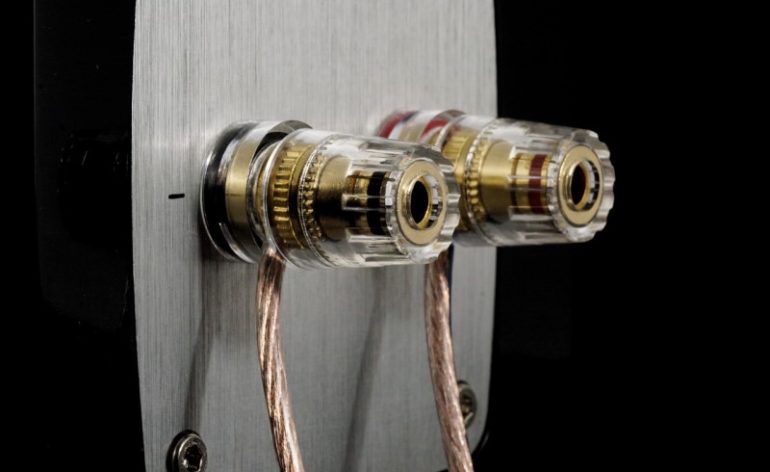
First, you’ll take one of the pair of speaker wires (red or black, doesn’t matter) and put it to one of the terminals on your battery (positive or negative, doesn’t matter which). You’ll then take the other wire and brush it against the other terminal. Don’t worry, this won’t shock you. When you do so, it will cause the speaker to thump.
As you brush the wire against the speaker terminal over and over, have your friend identify the speaker making the sound. This won’t hurt your speaker and is really easy to do. Now that you know which speaker is attached to the wire, label the wire! That way you don’t have to do this again.
If You Don’t Hear Anything
Now, you have a problem. There are three possible culprits: The speaker, the wire, or the battery. If you leave both ends of the wire connected to the battery, it can drain the battery pretty quickly. It can also be bad for your speaker so don’t do that. If you suspect the battery, get a fresh one and try again.
If you suspect the wire, attach a new one and test with the battery. For freestanding speakers, this is easy. You don’t need a long wire, just something convenient to work with. If your speakers are in-wall or in-ceiling, this may be more difficult, but shouldn’t be impossible. Take off the speaker grills and look for screws. You’ll usually find four or six. These screws usually attach to dog-leg clamps. These hold the speaker to the drywall. Back out these screws and the dog-leg clamps are designed to retract behind the speaker. This should allow you to remove the speaker.
The speaker wires are attached to the back but don’t expect the wires to extend very far. Take note of which wire is connected to which terminal as you don’t want to wire them out of phase when you reattach. Not all wires have the red/black color scheme and you don’t want to have to guess later.
If you’ve switched the batteries and changed the wire and still don’t hear a sound, it must be the speaker. If you are not a speaker designer, it is time to go shopping. You could call the speaker manufacturer and see if they can do anything. If you are in the warranty period, they might.
Conclusion
Our simple battery trick is an easy way to identify speakers without having to follow wires around your room. If your speakers are installed in the wall or in the ceiling, this trick will make your life a lot easier. Have a trick you use in your home theater? Let us know in the comments below!
