Premier Seymour AV Screen with Magnetic Masking Panels
Sadly, if you asked me what I thought a home theater was several years ago, I’d probably have given the stock answer of a system designed to recreate the movie experience at home. For my own home theater, however, I was motivated enough to dedicate an entire room to recreating the theatrical experience. What I hadn’t really thought through, however, was the type of visual solution I would apply. In fact, back when it all started I was committed to a flat screen TV. Then, one day during rough in, my helper on the installation persuaded me to consider a projector. It was my “go big, or go home” moment. I didn’t start off with a sophisticated projector screen solution like the Premier Seymour AV Screen, but I had at least made the leap to a larger viewing experience.
home the·a·ter
noun
NORTH AMERICAN
1. television and video equipment designed to reproduce at home the experience of being in a movie theater, typically including stereo speakers and a big-screen television set.
While my wife is a huge home theater fan, she wasn’t initially sold on the idea of a projector. Fortunately, I hadn’t purchased the TV yet, so I went into test mode by buying a TV first (and returning it after being disappointed with the relatively diminished experience) and then purchased a projector. Testing the projector included setting it up in an empty room, with primed white walls, no carpet, and no furniture. It was a sound- and light-reflecting cave with no positive attributes other than the wall would serve as a “decent” screen.
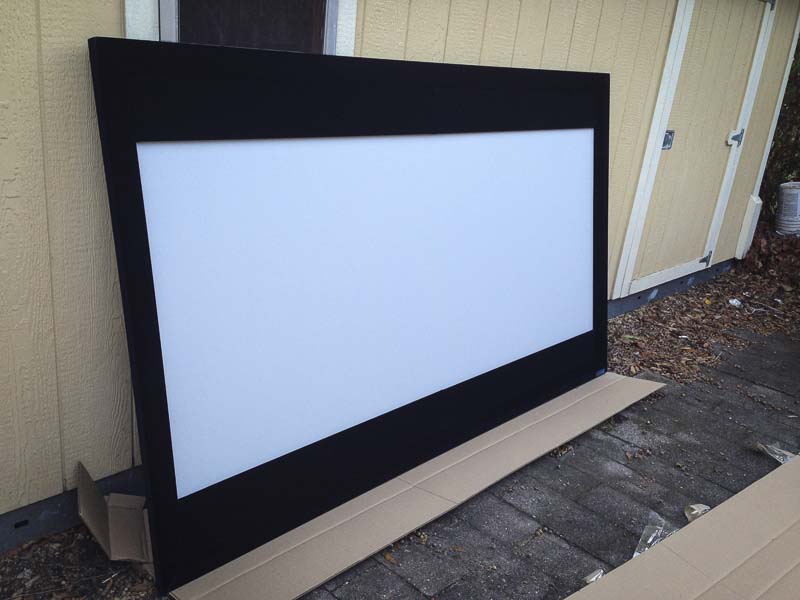
I set up the projector on a kitchen bench towards the back of the theater room. I loaded the Disney/Pixar DVD, The Incredibles, and we stood in awe of not only the clarity, but also the size and adjustability of the image. The decision was made…we were “all in” on a projector-based home theater. Fast forward a bit and my current room features an Epson Power Lite Home Cinema 2030 1080p 3LCD projector shooting onto a budget 92” diagonal fixed Da-Lite model, complete with black velvet frame and a pure white 1.0 gain screen. Despite a little bit of hot spotting and weaker contrast than desired, it’s a good screen—particularly for a starter system.

The Seymour AV Premier Screen is a significant step up from the entry-level screen I’ve used since beginning my home theater journey. The addition of magnetic constant width masking panels makes a world of difference—as does the improved Fidelio black velvet (if you could store a black hole on material, this would be what it looked like). I liken my screen upgrade to wine. After you’ve had a decent $10 bottle of wine a few times, you’re more likely to taste the subtle differences of a wine which costs $20 but really impresses you enough to justify the extra spend. The bottom line is, experience teaches us that you get what you pay for, and learning how to buy value comes with time.
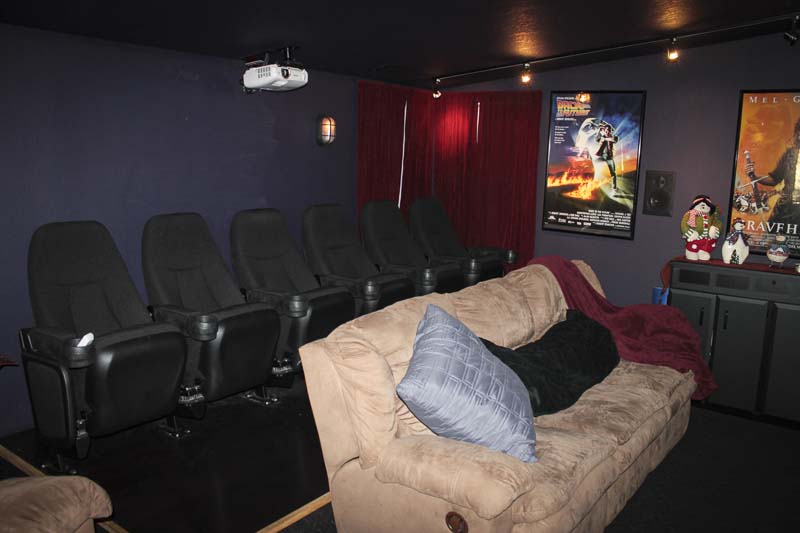
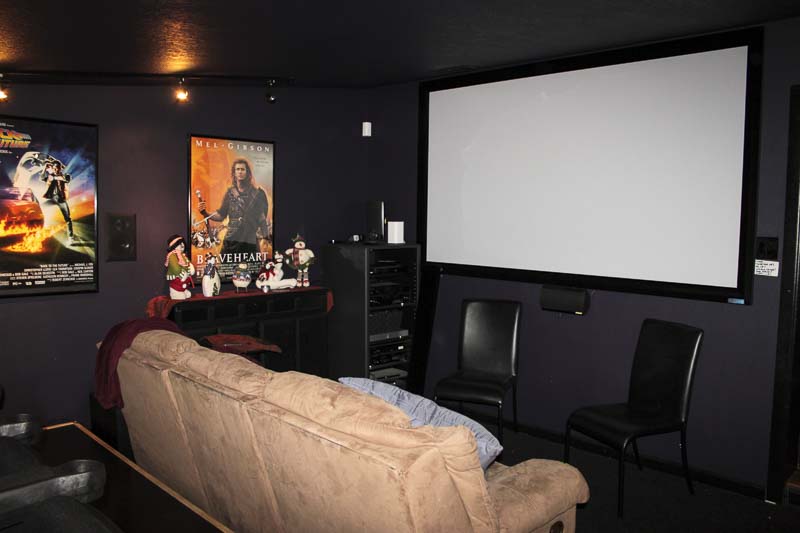
Before moving on, my home theater is 13×15 with dark eggplant walls and ceiling with some framed reflective movie posters and track lighting. Seating is brown or black, and the carpet is black. All colors were selected to minimize light reflection, however, even the satin paint finish can reflect quite a bit of light, despite being a darker color.
The Premier Frame Seymour AV Screen Solution
For my application, Seymour AV recommended the H090GG Premier frame with a 90″ wide image (103.3″ diagonal) and16:9 ratio. The Glacier Gray screen material was recommended to further improve perceived contrast and reduce room reflections. Additionally, the system included the CW178-090-F Constant Width panels featuring Fidelio non-AT velvet surfaces for a 16:9 to 2.37 conversion. What this means is that I received a screen which would be perfect for my projector throw distance with the ability to eliminate the letter boxing above and below a “wide screen” movie.

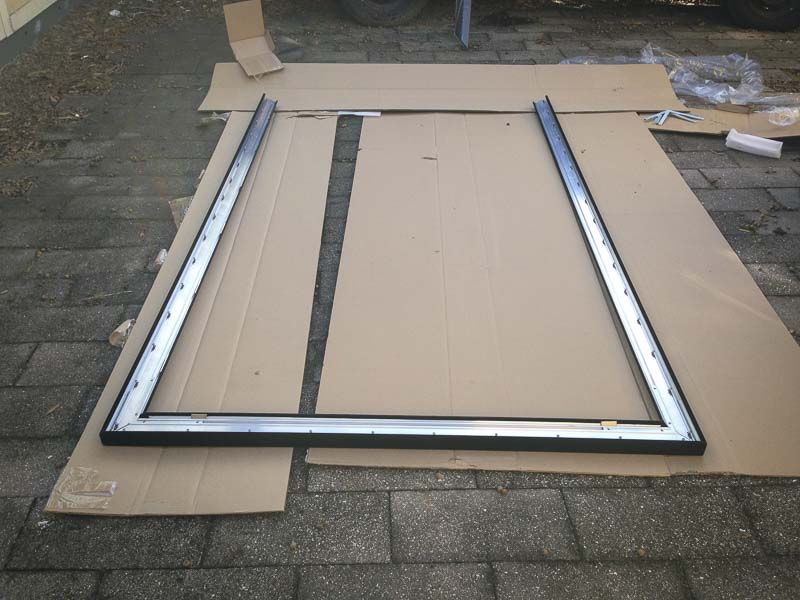
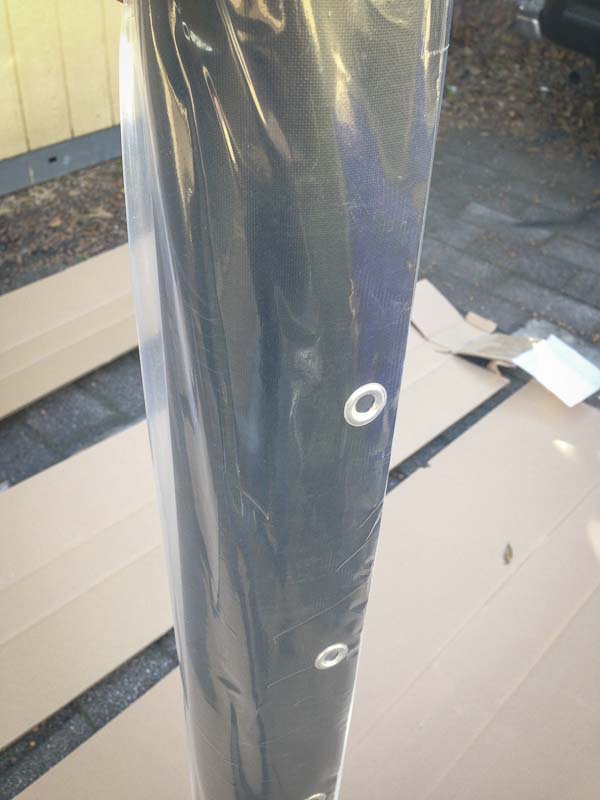
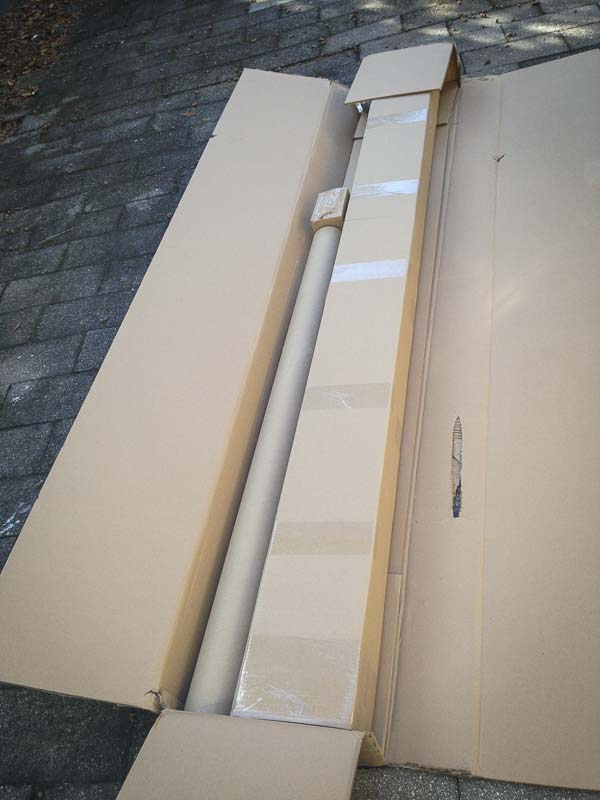
The screen arrived in two boxes. One box had the bits and pieces while the other had the rolled screen and extruded aluminum frame sections with Fidelio velvet surfaces. Breaking down the packaging was easy, and I appreciated how well-packed it was, minimizing any potential shipping damage without being over-kill. Assembly was a relatively simple process, and the instructions were ample without being excessive. I was able to put the screen together by myself; however, I recommend working with a partner if you’re not familiar with the mechanics of a stretch screen system.
Seymour Premier AV Screen Build Quality & Assembly
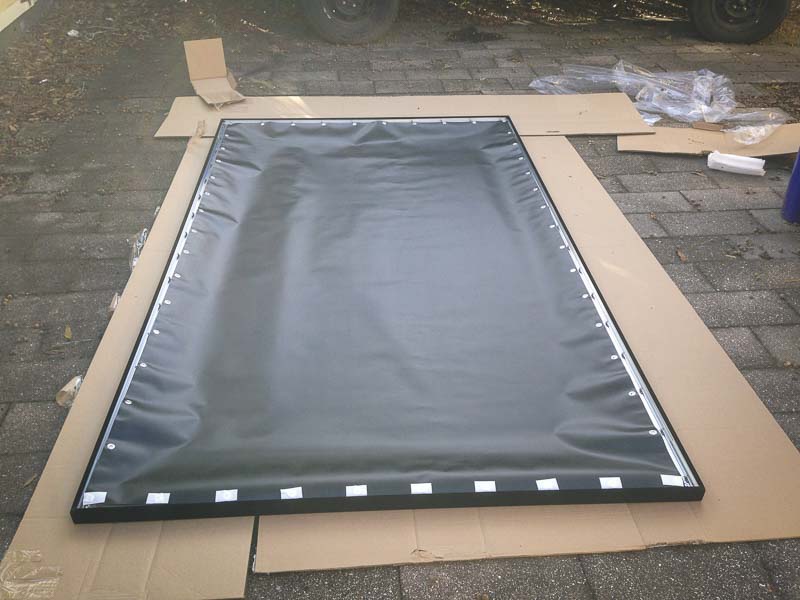
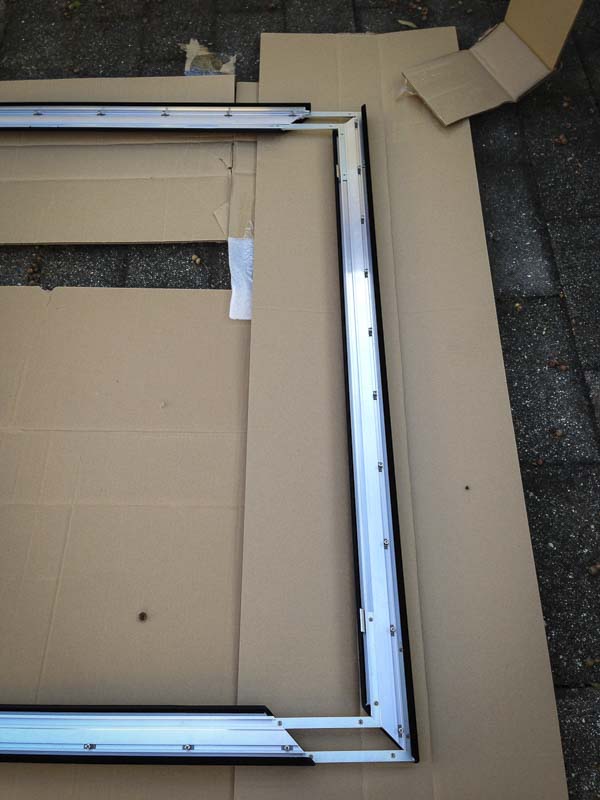
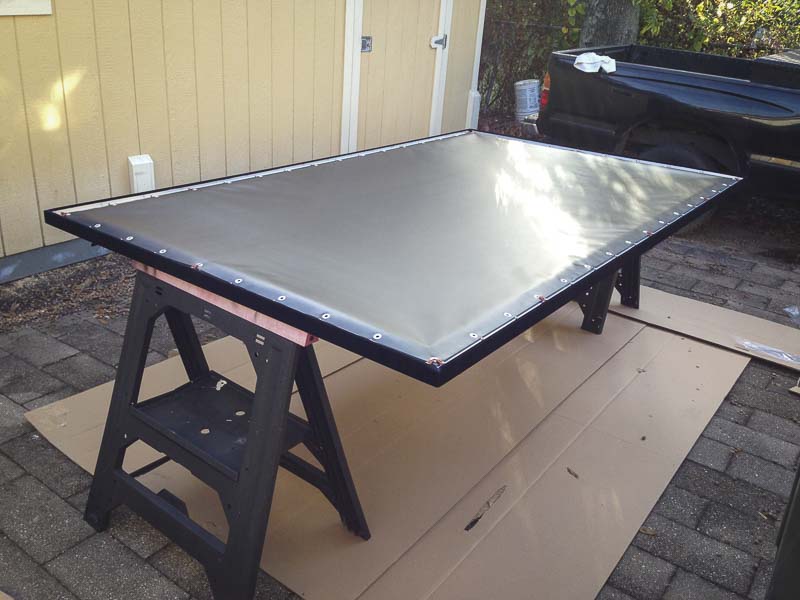
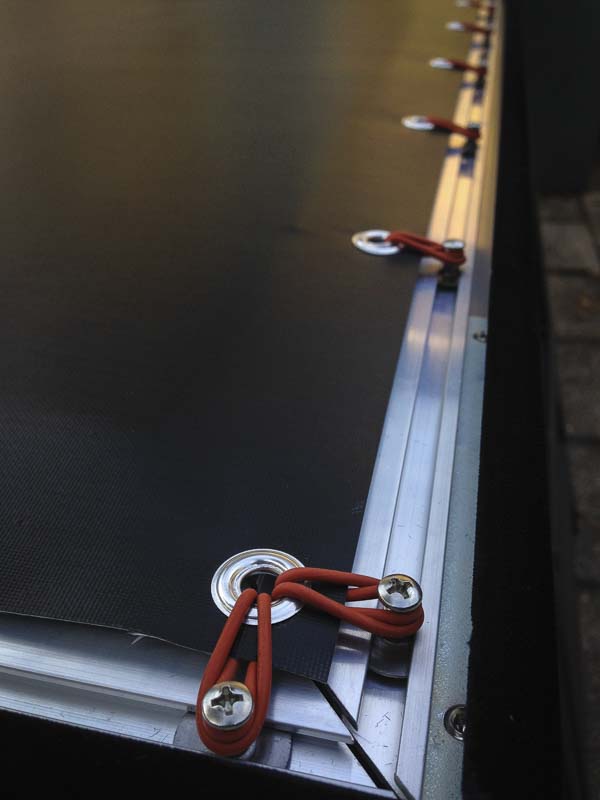
I was impressed by the precision and finish of all the pieces requiring assembly. The extruded metal frame sections and the velvet surfaces were free of metal burrs and fabric shedding, respectively. The mating corners came together snugly and predictably, and the hex screws tightened with no thread galling. My favorite part of the screen assembly was the installation of the O-rings to stretch and suspend the screen upon the frame. While there were many O-rings to apply, my confidence in the structure grew with every O-ring installed. In the end, the screen was taut and firm while still being flexible to the touch or accidental contact with another object.
Installation of the screen on the wall was simple as hanging a picture. Seymour AV includes convenient Hangman rails to ease the task of getting the screen in the right spot and level on the first try. They got big props as I managed the 90” wide screen into position with only a little help from a friend. I literally landed the screen on the rails and it was level and exactly where I wanted it on the first attempt. That doesn’t even happen when I hang an 8×10 picture frame!
As with all home theater projects, you know you should do the job right the first time so you have many hours of trouble free enjoyment. The real truth, however, is that we want to just get it running so we can test it out! The good news with the Seymour AV screen is that I was done with the assembly and installation within 3 hours—and that was mostly because I was also stopping to take photos and write down notes fora review. The bottom line is that the parts and instructions were sufficient so that the job was done right and my wife and I were able to host a movie night with friends—all within the same afternoon.
Viewing Tests and Observations
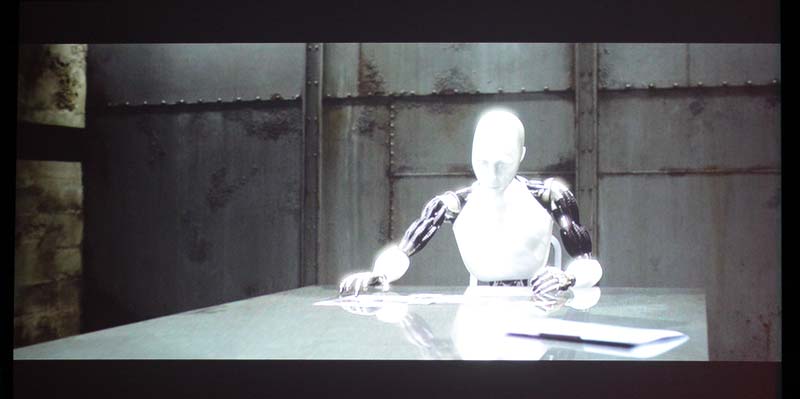
The first positive impression of the screen was incidental—namely it was the right size for my projector throw distance. That said a lot for both the accuracy of the screen dimensions as well as the trustworthiness of a recommendation by Seymour AV. While this may seem trivial, it’s not. While the formula to calculate this number is not in the realm of quantum physics, it’s still a little overwhelming if you don’t have much experience. The Glacier Gray screen was also recommended for by a Seymour AV rep, and it turned out to be a great call. Glacier Gray is, well, gray. The gray was noticeably darker than my original white screen, and frankly, until I got the image projected, I was a little nervous about how it would look. Seymour AV claims a 20% improvement in black level when using this material.
With the lights down and projector lit, the screen came to life better than I expected. The blacks were indeed blacker, and the perceived contrast had visibly increased as a result. The images appeared more naturally colored and richer than with my previous screen. Since I was able to spend several hours with the old screen earlier in the day before installing the new one, I was able to make screen-only comparisons to understand the visual differences. In addition to the positive screen material characteristics, the Fidelio velvet frame material did a significantly better job at absorbing the overspill. So much less light was reflected by the velvet surface that I found myself needing to be less critical in my projector image adjustment. In the end, a slight overscan allowed me to have a great image that stretched to every boundary of the screen.
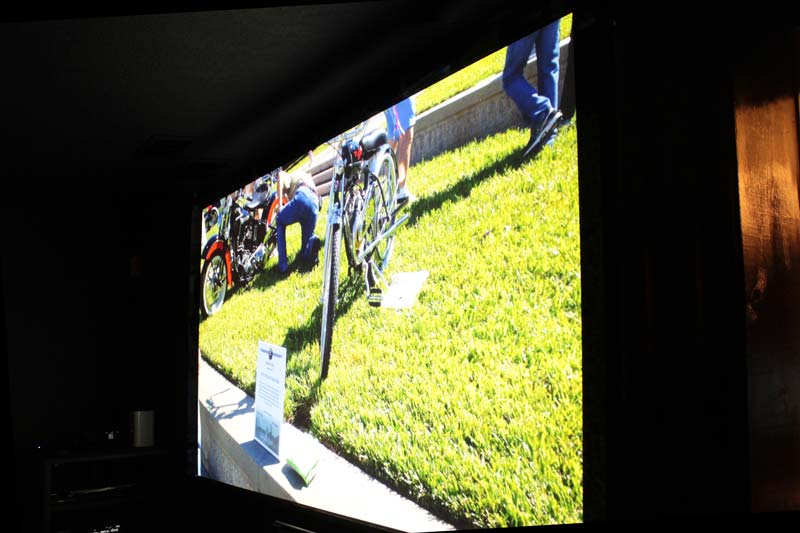
Since the screen is gray in color, which produced better blacks and contrast in a dark room, I thought it was time to test the system with a little more ambient light. In spite of my regular encouragement to my family to use the indirect track lights as needed for ambient light while multi-tasking, they typically resort to the first light switch, turning on the back wall lights, washing out the space. To my surprise, the results were more dramatic than expected. While not ideal, the images still had decent contrast and were at least “watchable”. Switching over to the indirect track lighting, the picture was downright enjoyable. Where once we had to watch football games in the dark (not so good for social gatherings) we can now throw on the tracks and socialize without tripping on a step and/or falling asleep.
Seymour AV Constant Width Masking Panels
Next up are the Constant Width masking panels. These beauties were the icing on the cake. Employing the same Fidelio black velvet surfaces, the masking panels performed equally to the frames in terms of making any stray light “disappear”. As with most of this system from Seymour AV, the quality and attention to detail continued to impress. There are four pieces to this masking system, two panels for the top and two for the bottom. Again, this masking system is used to “remove” the gray top and bottom bars present on a “widescreen” letterbox version of a cinemascope movie (2.35:1 or similar). I’ll pause here to explain the value of masking. Similar to the wine analogy discussed earlier, you first have to experience the “before” to appreciate the “after”. Since roughly a quarter of the screen is unused on letterbox editions of a movie, it leaves that much reflective surface to bounce light back into the theater. Reflection = bad, absorption = good. By covering the reflecting surface, the mask acts as a sort of polarized sunglass that takes away “glare” from what you’re looking at. It also creates greater perceived contrast by putting the top and bottom of your image against a true black border as opposed to the bare projector screen (remember, you can’t “project” black, so the blackest part of your image is the bare projector screen material). With these panels I found my eyes to be less stressed, and the image possessed far more contrast. Really, the whole projector system went from good to great as soon as I added the panels.

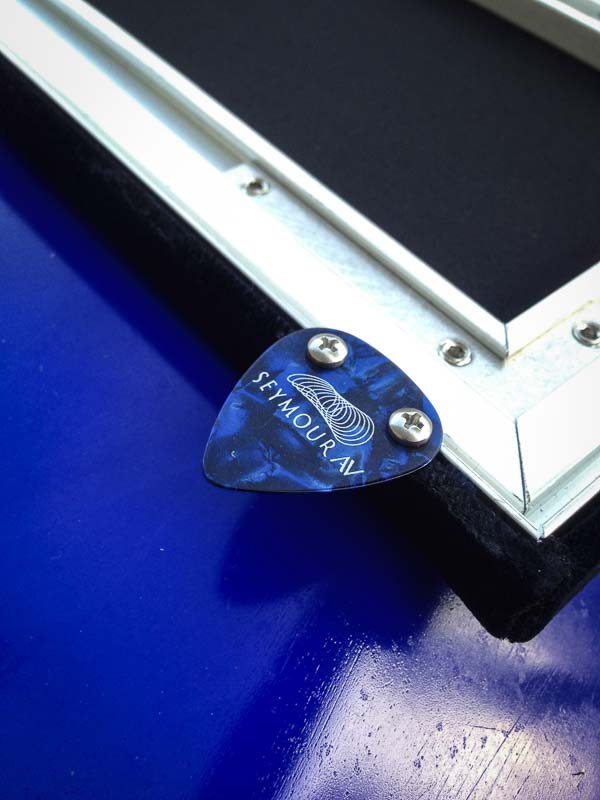
Getting back to the masking panel installation, there are two clever aspects to the mounting technique. The bottom masks use gravity to hold them down with the assistance of some side magnets and guitar picks. Yes, you heard that correctly—guitar picks. They’re apparently not just for guitar players anymore. Guitar picks are both thin AND strong and do a great job of wedging in between tight spaces while still being strong enough to keep an object from slipping away. You simply drop the Seymour AV masking panels into the seam between the frame and the screen material, and the picks and the magnets hold everything in place perfectly. The picks keep the bottom in place and the side magnets keep the masks from falling over. Coupled with the free-of-charge gravity supplied at each home, these masks are now mounted. For the top, it’s all magnets. Put the masking panels in the general position, and the magnets do their thing to snap them into place. The masking panels come in two pieces (side-by-side) for both the top and bottom positions. There is a small seam, dead-center on both which can reflect a small “line” of light if you don’t get the panels tight together and are looking square at the middle of the screen. Sadly, this is where I sit. I would actually prefer the masking panels be one large piece to avoid this potential nuisance, even though the tradeoff would be more difficult storage and installation. Given the frames are all one piece to prevent the joints from sagging, the same logic could apply on the masking panels as well.
Conclusion
All in all, I was very pleased with the entire Seymour AV screen and magnetic masking panel system.The quality, precision and attention to assembly and installation detail were the best I’ve seen—not only on screens, but also with regards to the manufacture of any quality product. As mentioned before, experience is an important element of appreciating something that is truly better. Seymour AV has apparently worked hard to apply lessons learned and feedback to create a user-friendly, but seriously thought-out product.
To me, a home theater requires you have the right equipment to reproduce the experience of a movie theater in the home. For those going with a front projection solution, Seymour AV provides a big part of this with their Premier Screens. Combined with the guidance, material selection, attention to quality and options provided, Seymour AV helps make the movie watching experience as good or better than a commercial theater—at least with respect to the screen. I recommend you seriously consider a Seymour AV screen when you’re ready to make your next (or even better, your first) screen investment in your movie theater at home.